26/12/2023 08:05:31

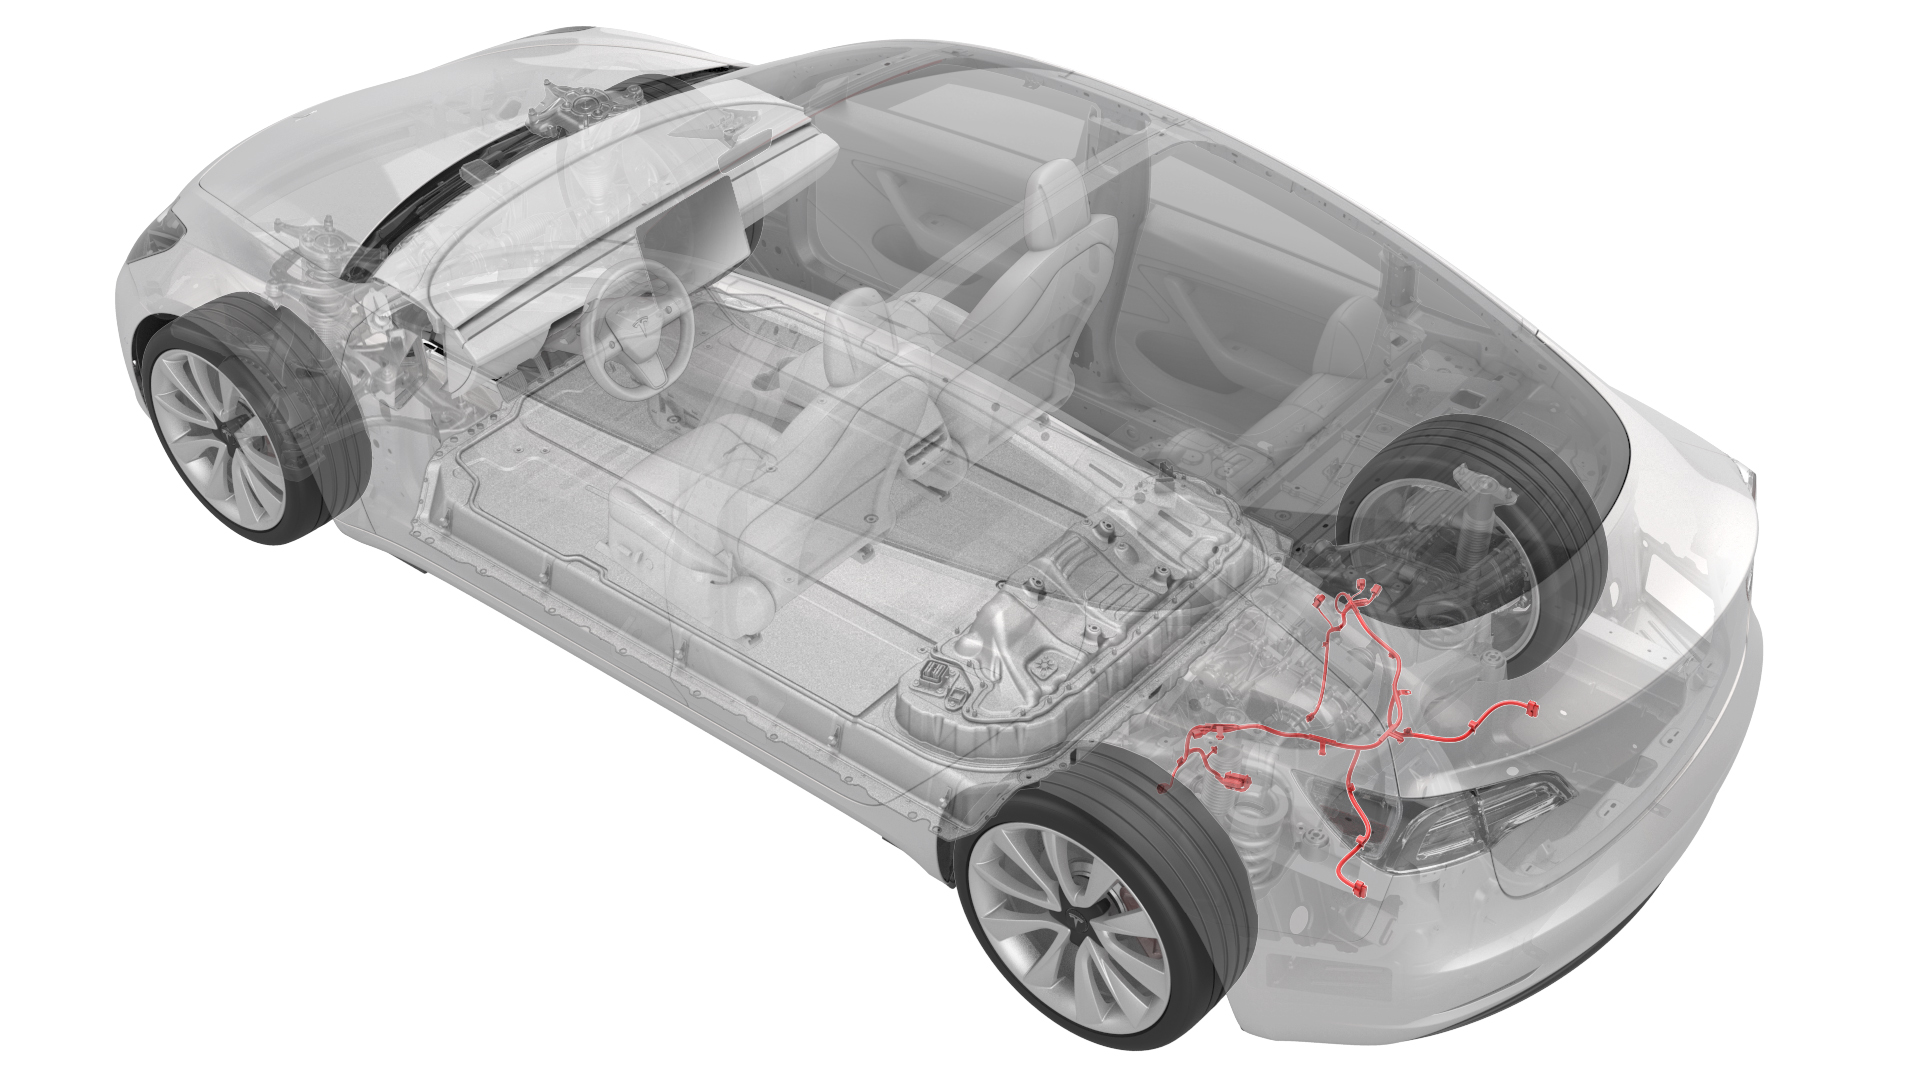
线束 - 副车架 - 后(拆卸和更换)

校正代码 17102002 0.84 注意:除非本程序中另有明确规定,否则上述校正代码和 FRT 反映的是执行本程序(包括关联程序)所需的所有工作。除非明确要求,否则请勿堆叠校正代码。注意:请参阅平均维修工时,深入了解 FRT 及其创建方式。要提供有关 FRT 值的反馈,请发送电子邮件至LaborTimeFeedback@tesla.com。注意:请参阅人员保护,确保在执行以下程序时穿戴适当的个人防护装备 (PPE)。

  1. 举升并支撑车辆
    Informational PurposesAn informational icon, calling your attention
    注
    确保车辆在升离地面前未处于充电状态
  2. 降下左前车窗
  3. 打开所有四个车门
    Informational PurposesAn informational icon, calling your attention
    注
    如果车辆正在断电,请锁闭后车门以防意外关闭
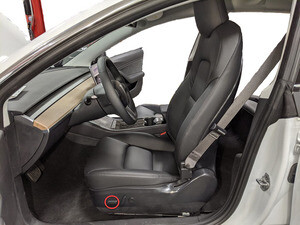
  4. 将左前座椅向前移动
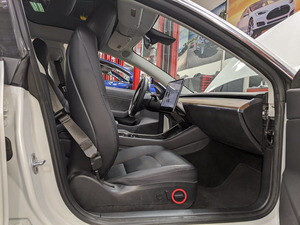
  5. 将右前座椅向前移动
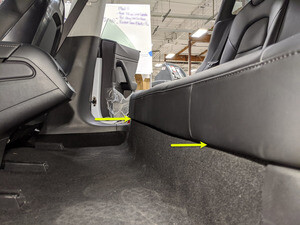
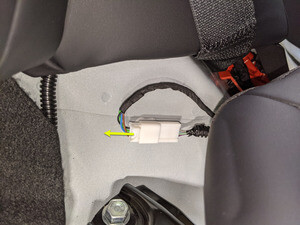
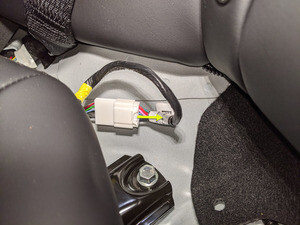
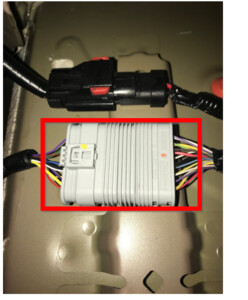
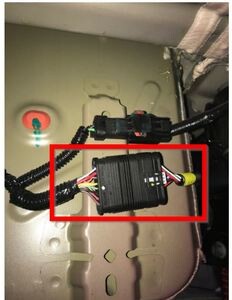
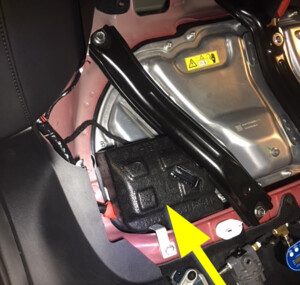
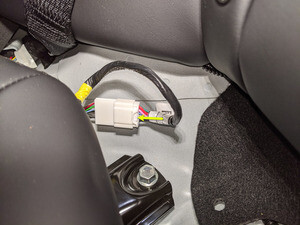
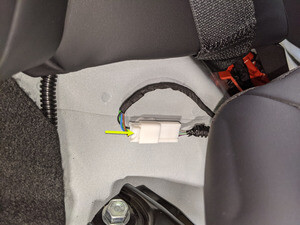
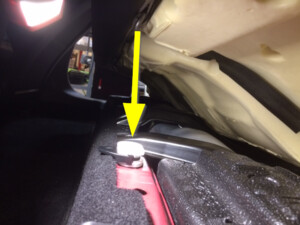
  6. 拆卸第二排座椅座垫并断开线束
    Informational PurposesAn informational icon, calling your attention
    注
    2 个锁片,2 个连接器;朝车辆左侧按压锁片两侧,以释放座垫前边缘
  7. 打开前备箱盖
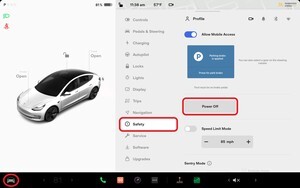
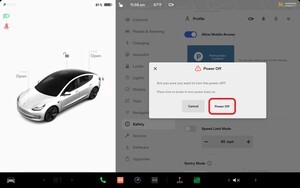
  8. 在中央显示器上关闭车辆电源
    Informational PurposesAn informational icon, calling your attention
    注
    通过“控制 > 安全&保障 > 车辆电源 > 关闭电源”,在警告对话框中确认关闭电源
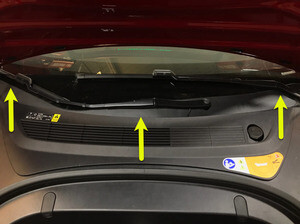
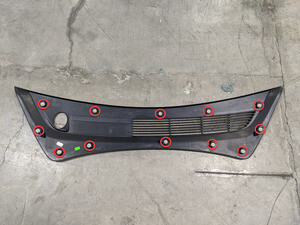
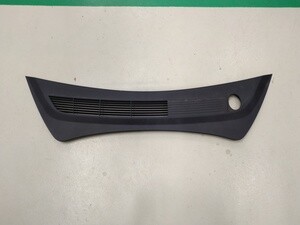
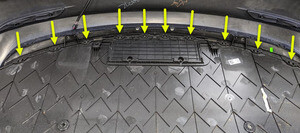
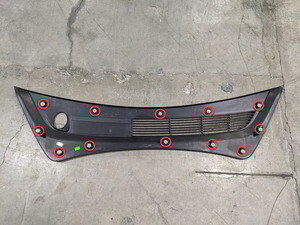
  9. 拆卸后挡板
    Informational PurposesAn informational icon, calling your attention
    注
    12 个卡子,只能将后挡板可见面朝上存放
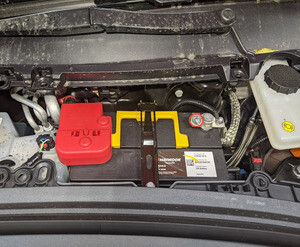
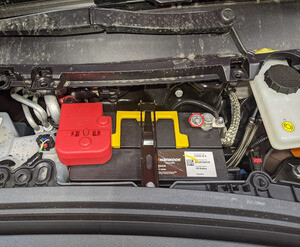
  10. 断开 12V 负极端子
    Informational PurposesAn informational icon, calling your attention
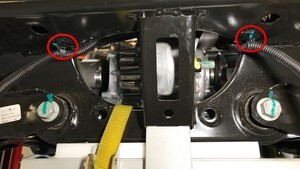
    注
    1 个螺母,10 毫米,6 Nm;确保车辆处于驻车挡,温度控制系统关闭,断开 12V 电池之前车辆未充电
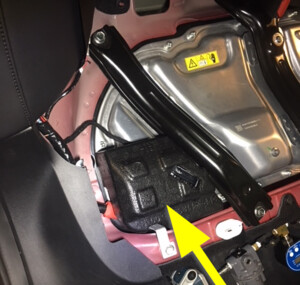
  11. 拆卸高压电池仓 12V 盖。
    Informational PurposesAn informational icon, calling your attention
    注
    1 个盖子
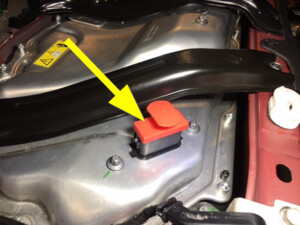
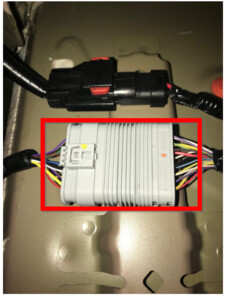
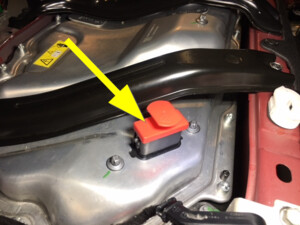
  12. 断开高压控制器逻辑连接器,然后安装逻辑盖
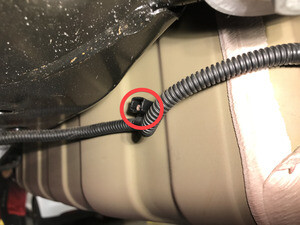
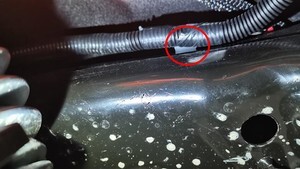
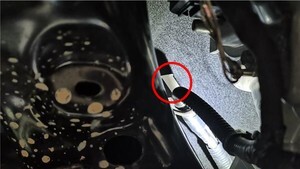
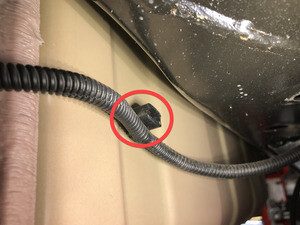
    Informational PurposesAn informational icon, calling your attention
    注
    1 个连接器,1 个盖子;松开锁片,然后向下推动把手以松开连接器
  13. 取出口袋中的所有物品并确保未佩戴金属饰品
  14. 检查高压绝缘手套
    Informational PurposesAn informational icon, calling your attention
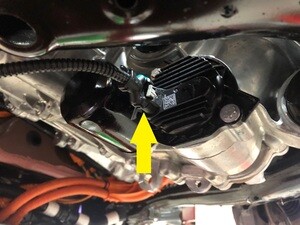
    注
    每次使用前检查手套是否损坏;请参阅服务文档 TN-15-92-003 R5,了解有关检查高压手套的信息:https://service.tesla.com/docs/ServiceBulletins/External/TN/TN-15-92-003_High_Voltage_Awareness_Care_Points_R5.pdf
  15. 佩戴高压绝缘手套和皮革手套
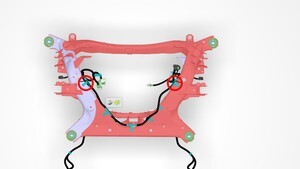
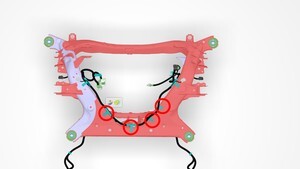
    Informational PurposesAn informational icon, calling your attention
    注
    使用 Hioki 测试仪时,请务必佩戴电工保护手套
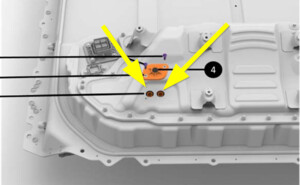
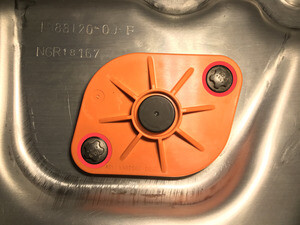
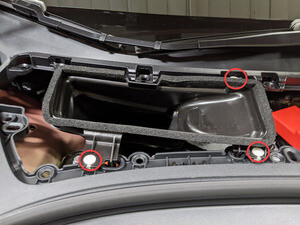
  16. 拆卸将高压电池仓探针盖固定到高压电池仓盖板的螺栓。
    Informational PurposesAn informational icon, calling your attention
    注
    2 个五角螺栓,E10,6 Nm;拆下后弃用
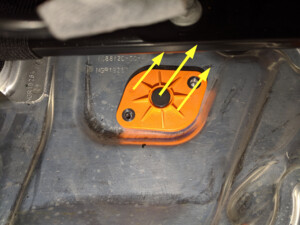
  17. 将高压电池仓探针盖从高压电池仓盖板上拆下。
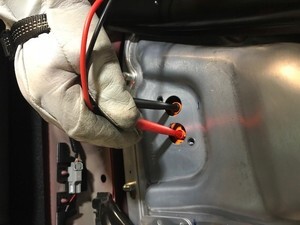
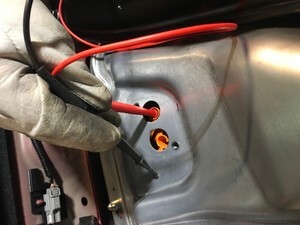
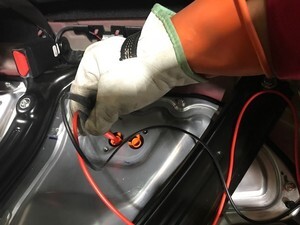
  18. 确认无高电压
    Informational PurposesAn informational icon, calling your attention
    注
    操作高压组件时,务必佩戴个人防护装备(高压手套、护目镜),测量 B+ 至接地、B- 至接地、B+ 至 B- 的电压;如果电压大于 10V,则说明电池组触点开关未断开或熔焊;停止工作并联系维修工程部
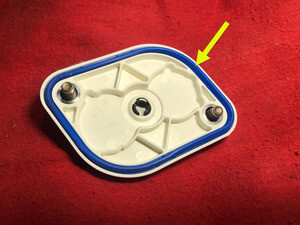
  19. 检查高压电池仓探针盖垫片,然后将其放置在高压电池仓盖板上
    Informational PurposesAn informational icon, calling your attention
    注
    确认未出现明显的损坏,可以重复使用密封件
  20. 安装将高压电池仓探针盖固定到高压电池仓盖板的螺栓
    Informational PurposesAn informational icon, calling your attention
    注
    2 个五角螺栓,E10,6 Nm;安装新紧固件
  21. 完全升起车辆,然后将举升机降低至锁止位
    Informational PurposesAn informational icon, calling your attention
    注
    将车辆置于适宜的作业高度;务必在听到两侧清晰的锁止声后再降下,否则车辆可能会发生侧倾;确认车门周围没有物体
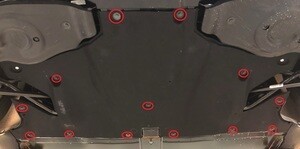
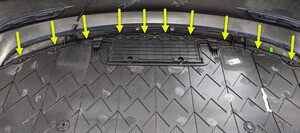
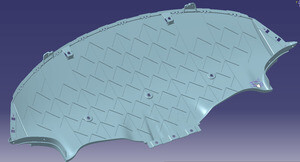
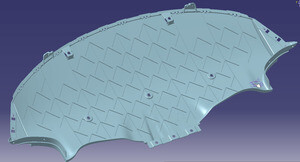
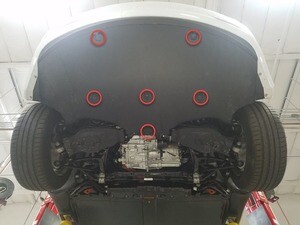
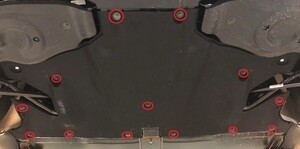
  22. 拆卸中间流线型护板
    Informational PurposesAn informational icon, calling your attention
    注
    13 个螺栓,10 毫米,5 Nm
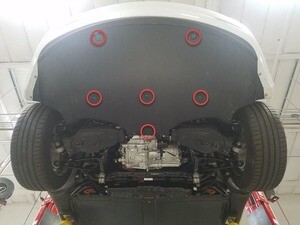
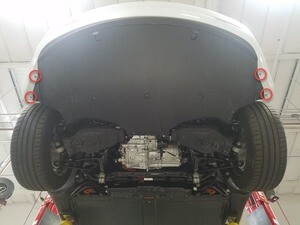
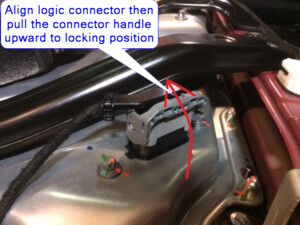
  23. 拆卸将后扩散器固定到车身的螺栓
    Informational PurposesAn informational icon, calling your attention
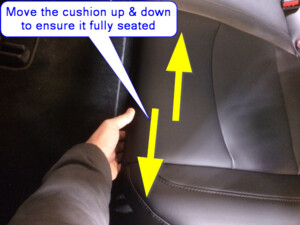
    注
    6 个螺栓,10 毫米,4 Nm,2 个紧固件盖板
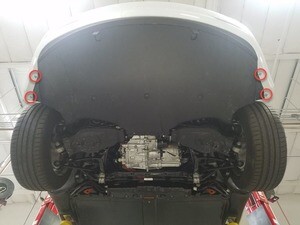
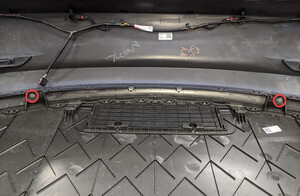
  24. 拆卸将后扩散器固定到后饰板总成的外侧螺栓
    Informational PurposesAn informational icon, calling your attention
    注
    4 个螺栓,10 毫米,3 Nm
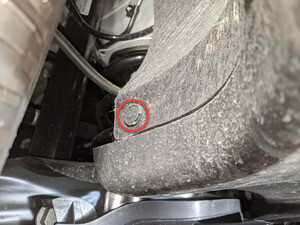
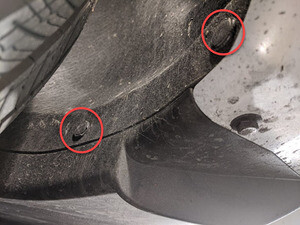
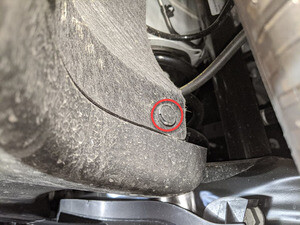
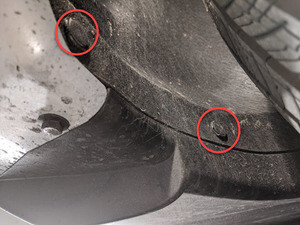
  25. 拆卸固定左后轮拱内衬的下部卡子
    Informational PurposesAn informational icon, calling your attention
    注
    3 个推拉式卡子
  26. 拆卸固定右后轮拱内衬的下部卡子
    Informational PurposesAn informational icon, calling your attention
    注
    3 个推拉式卡子
  27. 拆卸将后下方饰板固定到后饰板扩散器的螺栓
    Informational PurposesAn informational icon, calling your attention
    注
    2 个螺栓,10 毫米,3 Nm
  28. 松开将后扩散器固定到后饰板的锁片,然后从车辆上拆下
    Informational PurposesAn informational icon, calling your attention
    注
    10 个锁片;从一侧开始依次松开这些锁片
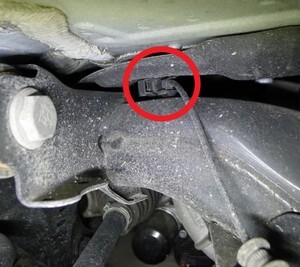
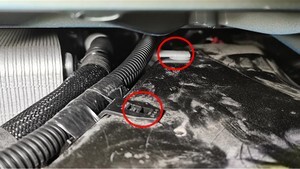
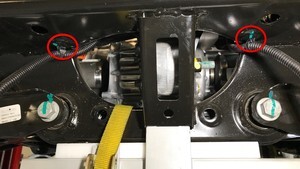
  29. 从副车架上拆下左后轮毂转速传感器线束连接器夹
    Informational PurposesAn informational icon, calling your attention
    注
    1 个夹子
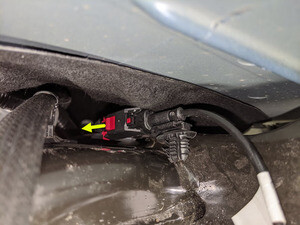
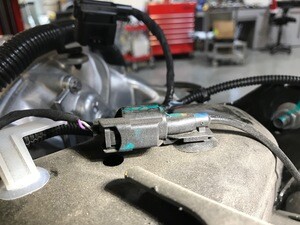
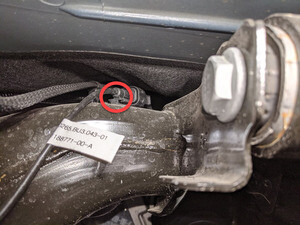
  30. 断开左后轮毂转速线束
    Informational PurposesAn informational icon, calling your attention
    注
    1 个连接器;松开锁片,使用机械手固定住副车架线束侧的连接器端部
  31. 从副车架上拆下右后轮毂转速传感器线束连接器夹
    Informational PurposesAn informational icon, calling your attention
    注
    1 个夹子
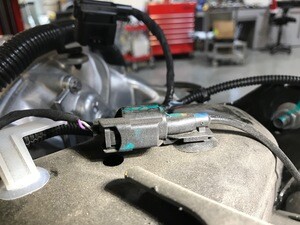
  32. 断开右后轮毂转速传感器连接器
    Informational PurposesAn informational icon, calling your attention
    注
    1 个连接器
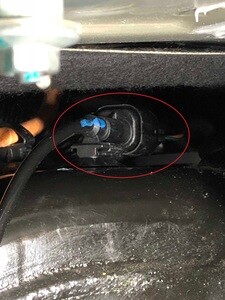
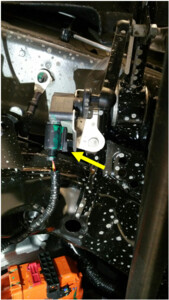
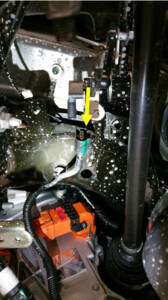
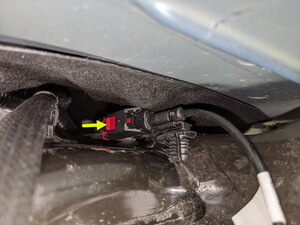
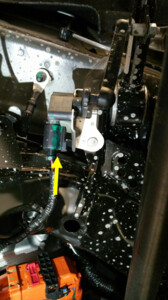
  33. 断开行驶高度传感器线束
    Informational PurposesAn informational icon, calling your attention
    注
    1 个连接器;按下连接器右侧的锁片,然后向下拉动以松开
  34. 拆卸行驶高度传感器线束夹
    Informational PurposesAn informational icon, calling your attention
    注
    1 个夹子
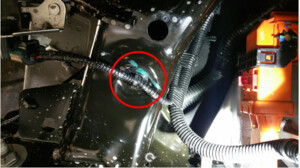
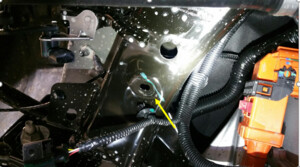
  35. 断开右侧 12V 副车架线束连接器
    Informational PurposesAn informational icon, calling your attention
    注
    1 个连接器;松开锁片
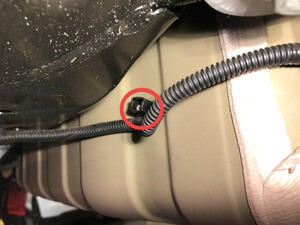
  36. 从车身上拆下右侧 12V 副车架线束夹
    Informational PurposesAn informational icon, calling your attention
    注
    1 个筒形夹
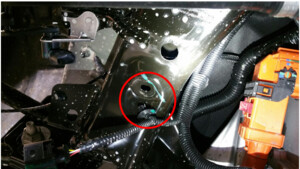
  37. 断开左侧 12V 副车架线束连接器
    Informational PurposesAn informational icon, calling your attention
    注
    1 个连接器
  38. 从车身上拆下左侧 12V 副车架线束夹
    Informational PurposesAn informational icon, calling your attention
    注
    1 个筒形夹
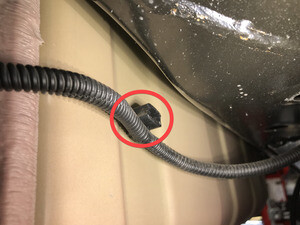
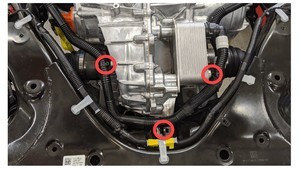
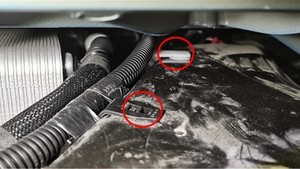
  39. 松开将副车架线束固定到副车架底部后端的夹子
    Informational PurposesAn informational icon, calling your attention
    注
    2 个夹子
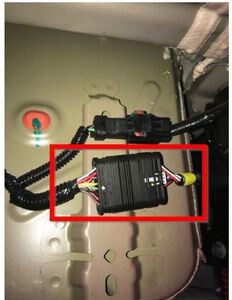
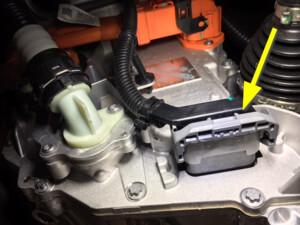
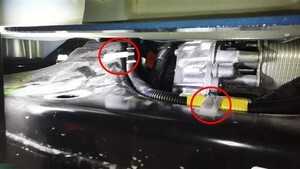
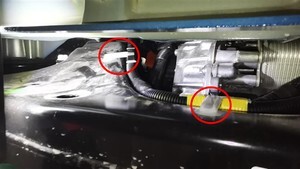
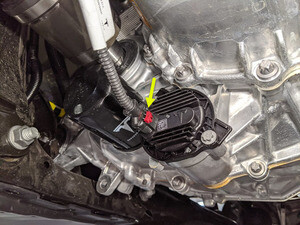
  40. 断开机油泵连接器
    Informational PurposesAn informational icon, calling your attention
    注
    1 个连接器
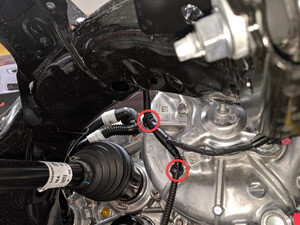
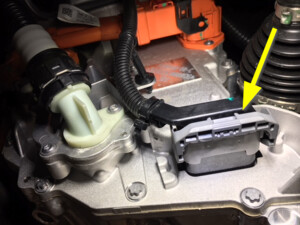
  41. 断开解析器连接器与驱动单元的连接
    Informational PurposesAn informational icon, calling your attention
    注
    1 个连接器,2 个夹子;松开锁片
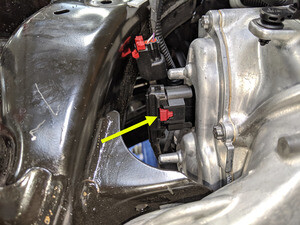
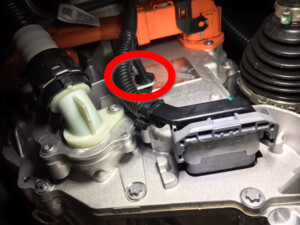
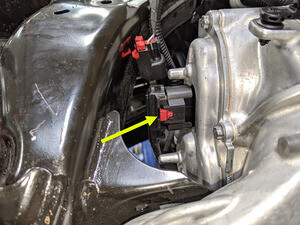
  42. 断开后驱动单元 12V 连接器
    Informational PurposesAn informational icon, calling your attention
    注
    1 个连接器;松开锁片,然后向下推把手以松开连接器
  43. 拆卸后驱动单元 12V 线束夹
    Informational PurposesAn informational icon, calling your attention
    注
    1 个夹子
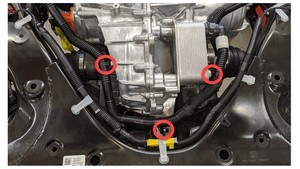
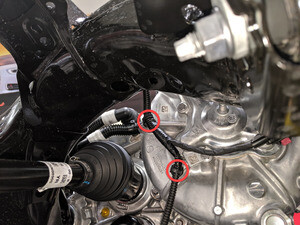
  44. 松开将变流器和冷却液软管固定到后驱动单元的夹子
    Informational PurposesAn informational icon, calling your attention
    注
    3 个夹子
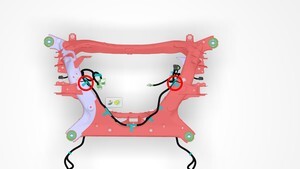
  45. 松开将副车架线束固定到后副车架顶部的夹子
    Informational PurposesAn informational icon, calling your attention
    注
    4 个夹子
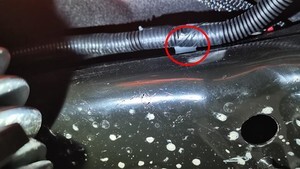
  46. 松开将副车架线束固定到副车架左右侧的夹子
    Informational PurposesAn informational icon, calling your attention
    注
    2 个夹子;有足够的空间使用夹子撬具松开夹子
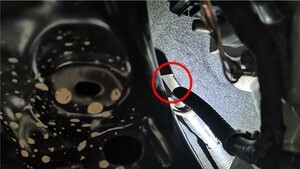
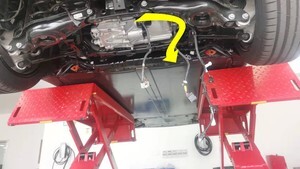
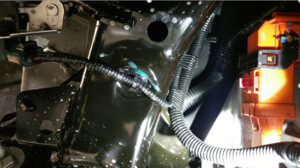
  47. 从副车架上拆下线束。
    Informational PurposesAn informational icon, calling your attention
    注
    从后驱动单元与副车架之间的空隙中取出线束,然后从左至右将其取下
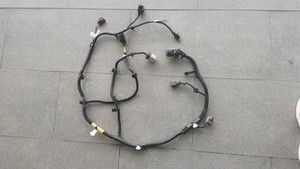
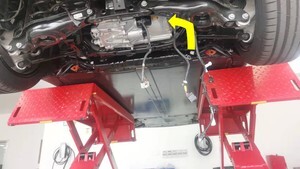
  48. 将线束安装到副车架上。
    Informational PurposesAn informational icon, calling your attention
    注
    将新线束从右至左穿过副车架与后驱动单元之间的空隙,然后将线束固定在副车架上,小心不要损坏线束
  49. 将后副车架线束安装到位,然后沿副车架左右侧固定夹子
    Informational PurposesAn informational icon, calling your attention
    注
    2 个夹子
  50. 安装将副车架线束固定到后副车架顶部的夹子
    Informational PurposesAn informational icon, calling your attention
    注
    4 个卡子
  51. 将冷却液软管固定到后驱动单元上
    Informational PurposesAn informational icon, calling your attention
    注
    3 个夹子
  52. 连接左后轮毂转速传感器
    Informational PurposesAn informational icon, calling your attention
    注
    1 个连接器
  53. 将线束连接器夹安装到副车架上
    Informational PurposesAn informational icon, calling your attention
    注
    1 个夹子
  54. 连接右后轮毂转速传感器连接器
    Informational PurposesAn informational icon, calling your attention
    注
    1 个连接器
  55. 将线束连接器夹安装到副车架上
    Informational PurposesAn informational icon, calling your attention
    注
    1 个夹子
  56. 将连接器插入行驶高度传感器
    Informational PurposesAn informational icon, calling your attention
    注
    1 个连接器,1 个锁片
  57. 将线束夹安装到行驶高度传感器上
    Informational PurposesAn informational icon, calling your attention
    注
    1 个线束夹
  58. 安装后驱动单元 12V 线束夹
    Informational PurposesAn informational icon, calling your attention
    注
    1 个夹子
  59. 安装后驱动单元 12V 连接器
    Informational PurposesAn informational icon, calling your attention
    注
    1 个连接器;接合锁定手柄
  60. 将解析器连接器连接到驱动单元
    Informational PurposesAn informational icon, calling your attention
    注
    1 个连接器,2 个夹子;接合锁片
  61. 连接油泵连接器
    Informational PurposesAn informational icon, calling your attention
    注
    1 个连接器;接合锁片
  62. 安装将副车架线束固定到副车架底部后端的夹子
    Informational PurposesAn informational icon, calling your attention
    注
    2 个夹子
  63. 将左侧 12V 副车架线束夹安装到车身上
    Informational PurposesAn informational icon, calling your attention
    注
    1 个筒形夹
  64. 连接左侧 12V 副车架线束连接器
    Informational PurposesAn informational icon, calling your attention
    注
    1 个连接器
  65. 将右侧 12V 副车架线束夹安装到车身上
    Informational PurposesAn informational icon, calling your attention
    注
    1 个筒形夹
  66. 连接右侧 12V 副车架线束连接器
    Informational PurposesAn informational icon, calling your attention
    注
    1 个连接器
  67. 将后扩散器安装到车辆上,然后接合将其固定到饰板的锁片
    Informational PurposesAn informational icon, calling your attention
    注
    10 个锁片
  68. 安装将后扩散器固定到后饰板内侧的螺栓
    Informational PurposesAn informational icon, calling your attention
    注
    2 个螺栓,10 毫米,3 Nm
  69. 安装将后扩散器固定到后饰板总成的外侧螺栓
    Informational PurposesAn informational icon, calling your attention
    注
    4 个螺栓,10 毫米,3 Nm
  70. 向后扩散器螺栓上涂抹 Loctite 222,然后安装将后扩散器固定到车身的螺栓
    Informational PurposesAn informational icon, calling your attention
    注
    6 个螺栓,10 毫米,4 Nm,2 个紧固件盖板;新款车所用螺栓数量可能不同
  71. 向中间流线型护板螺栓上涂抹 Loctite 222,然后安装中间流线型护板
    Informational PurposesAn informational icon, calling your attention
    注
    13 个螺栓,10 毫米,5 Nm
  72. 降下车辆,直至轮胎接触到地面
    Informational PurposesAn informational icon, calling your attention
    注
    将举升机升离锁止位,然后固定住释放杆,使锁具在降下车辆时保持活动自如
  73. 拆卸逻辑盖,然后连接高压控制器逻辑连接器
    Informational PurposesAn informational icon, calling your attention
    注
    1 个连接器,1 个盖子;对齐连接器,然后将把手拉至锁定位置以使连接器完全就位
  74. 安装高压电池仓 12V 盖。
    Informational PurposesAn informational icon, calling your attention
    注
    1 个盖子
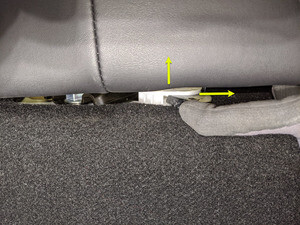
  75. 连接第二排座垫线束,然后安装第二排座椅座垫
    Informational PurposesAn informational icon, calling your attention
    注
    2 个连接器,2 个夹子;将座椅安全带卡扣插入孔中;向内滑动后座垫,然后将前导片与锁片对齐;在夹子旁推拉测试,以确保座垫完全就位
  76. 连接 12V 负极端子
    Informational PurposesAn informational icon, calling your attention
    注
    1 个螺母,10 毫米,6 Nm
  77. 安装驾驶室上部进气槽总成
    Informational PurposesAn informational icon, calling your attention
    注
    3 个卡子,旧款车型可能配备 4 个卡子
  78. 安装后挡板
    Informational PurposesAn informational icon, calling your attention
    注
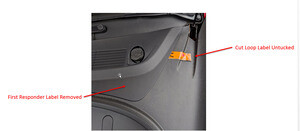
    12 个卡子;如果有切断回路标签,分开此标签并确保安装挡板后此标签仍可见;往后的版本可能没有标签
  79. 关闭前备箱盖
  80. 将右前座椅移回原位
  81. 将左前座椅移回原位
  82. 升起左前车窗
  83. 关闭所有四个车门
    Informational PurposesAn informational icon, calling your attention
    注
    关闭前需解锁后车门
  84. 从车辆下部拆下举升臂