24/08/2023 18:27:21
护板 - 车身控制器 - 前(带加热泵款)(拆卸和更换)
 校正代码
17152122
0.18
注意:除非本程序中另有明确规定,否则上述校正代码和 FRT 反映的是执行本程序(包括关联程序)所需的所有工作。除非明确要求,否则请勿堆叠校正代码。
注意:请参阅平均维修工时,深入了解 FRT 及其创建方式。要提供有关 FRT 值的反馈,请发送电子邮件至LaborTimeFeedback@tesla.com。
注意:请参阅人员保护,确保在执行以下程序时穿戴适当的个人防护装备 (PPE)。
校正代码
17152122
0.18
注意:除非本程序中另有明确规定,否则上述校正代码和 FRT 反映的是执行本程序(包括关联程序)所需的所有工作。除非明确要求,否则请勿堆叠校正代码。
注意:请参阅平均维修工时,深入了解 FRT 及其创建方式。要提供有关 FRT 值的反馈,请发送电子邮件至LaborTimeFeedback@tesla.com。
注意:请参阅人员保护,确保在执行以下程序时穿戴适当的个人防护装备 (PPE)。
警告
尽管此程序已经过验证,但仍是一个草案。可能没有警告和注意事项。请遵守安全要求,处理或靠近高压系统和部件时,请谨慎操作。请将校正修理内容及反馈发送至ServiceDevelopment@teslamotors.com。
拆卸
-
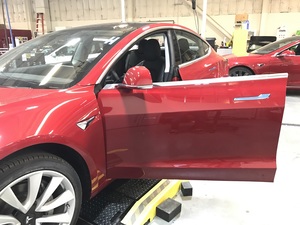
Open LH front door
-
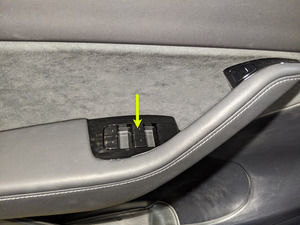
Lower LH front window
-
Open hood
注Press "Open" button on touchscreen to release latch, Lift lid manually
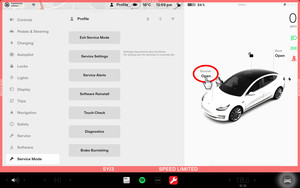
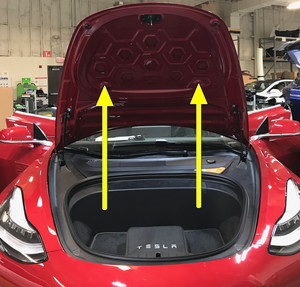
-
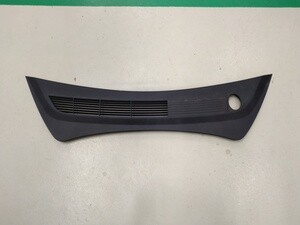
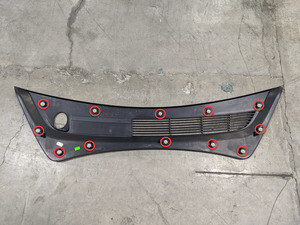
Remove rear apron
注12x clips, Only store rear apron visible face upwards
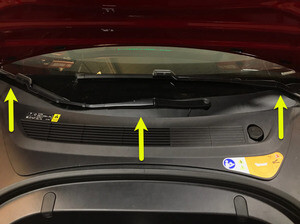
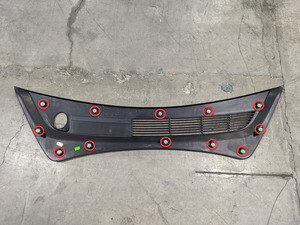
-
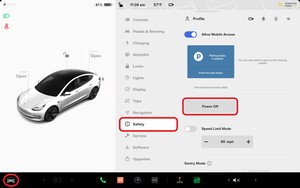
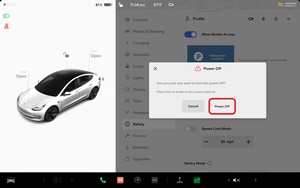
Power off vehicle from center
display
注Via Controls > Safety > Power Off, Select Power Off button at warning dialogue box
-
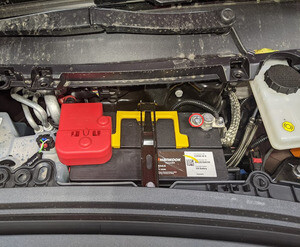
Disconnect 12V negative terminal
注1x nut, 10mm, 6 Nm, Ensure vehicle is in park, climate control system is off, and vehicle is not charging before disconnecting 12V
-
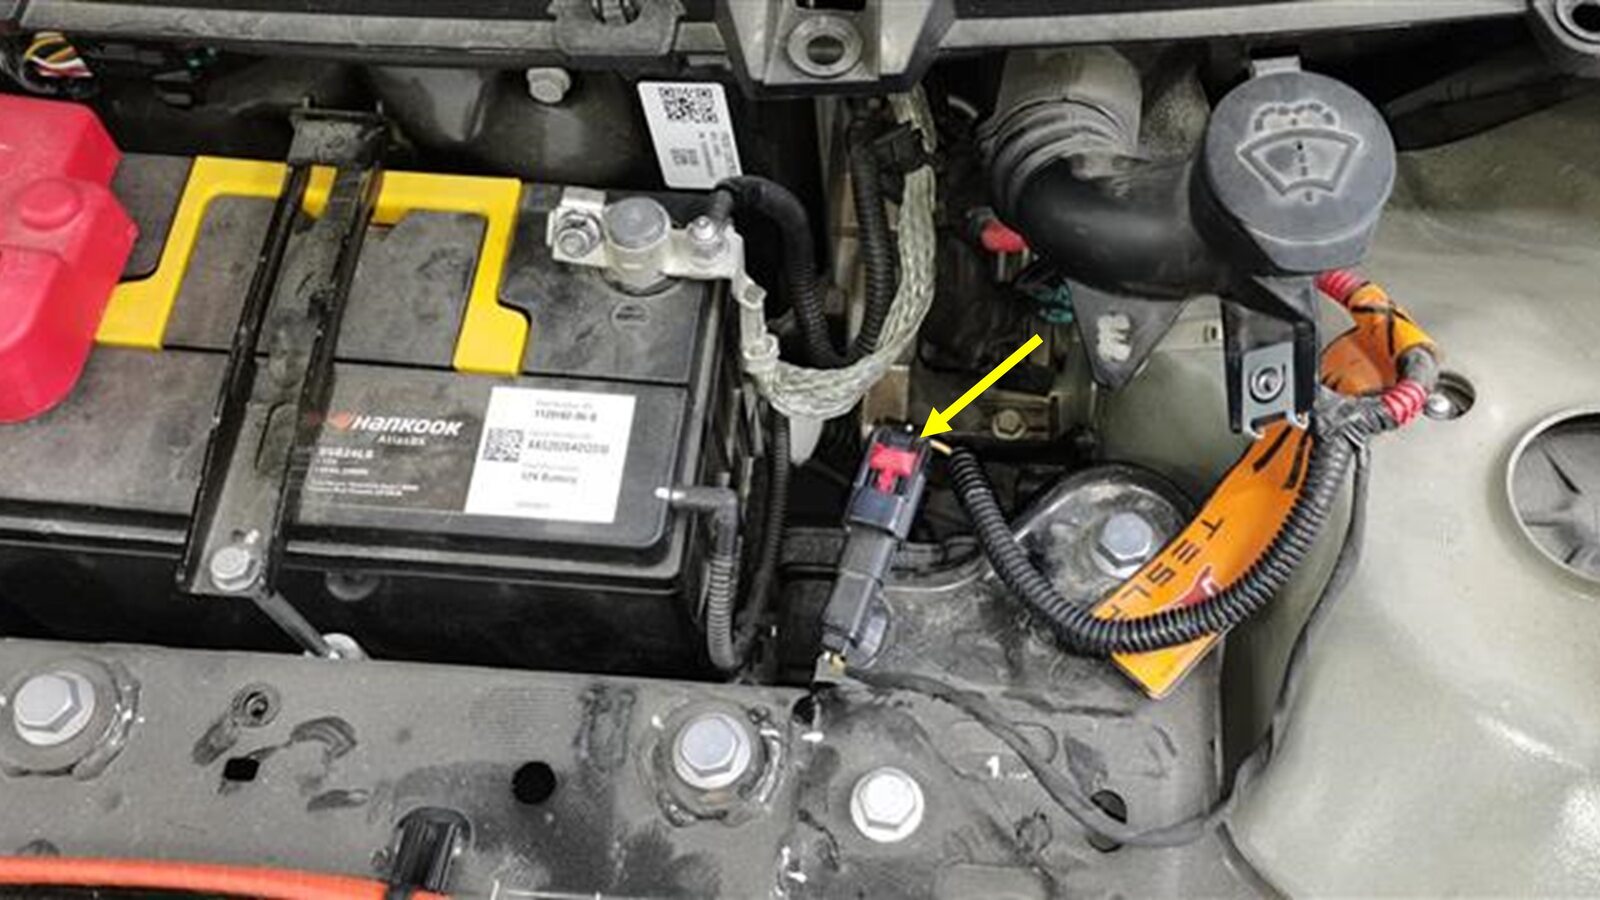
Disconnect first responder loop
注1x connector, Release locking tab
-
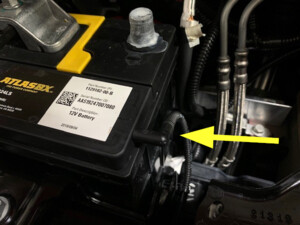
Remove vent tube hose from LH side of
12V battery
注1x tube adapter
-
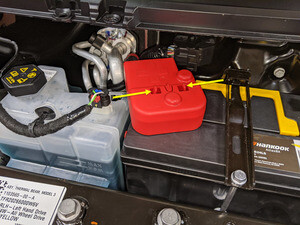
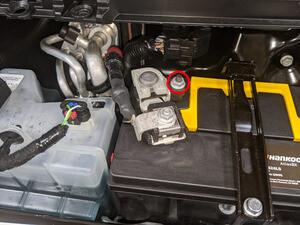
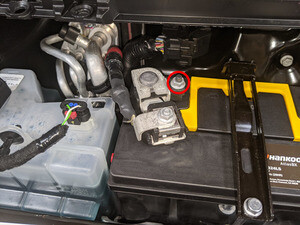
Release terminal cover and remove
positive terminal
注2x clips, 1x nut, 10mm, 6 Nm, Do not fully remove positive terminal nut
-
Remove 12V battery upper tie down
strap to AC compressor bracket
注1x bolt, 10mm, 5 Nm, Lift battery tie down strap up and remove it from rear tie down hook strap
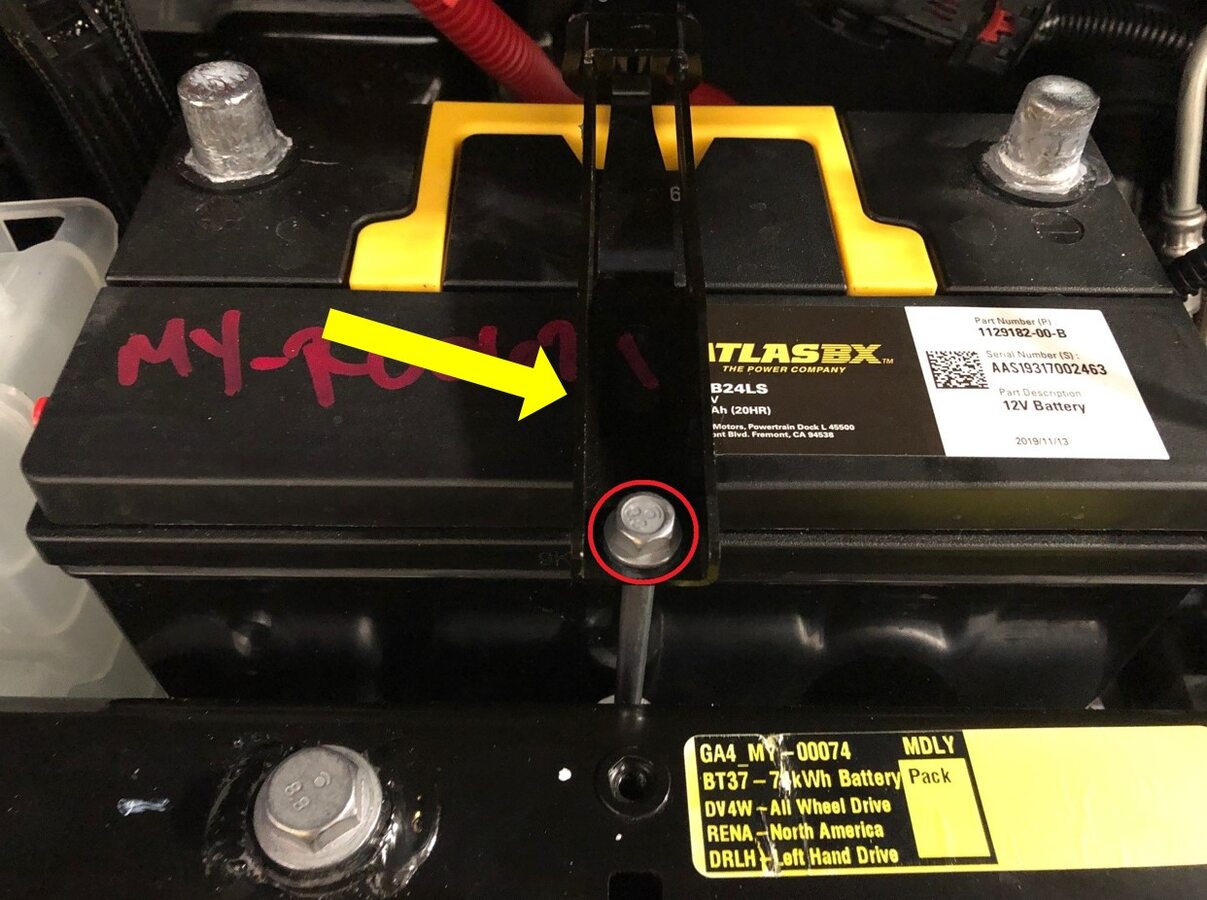
-
Remove battery upper tie down strap
注Lift battery tie down strap up and remove it from the rear tie down hook strap
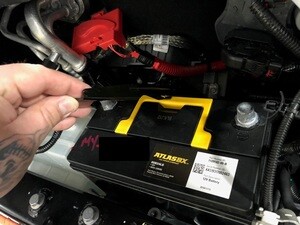
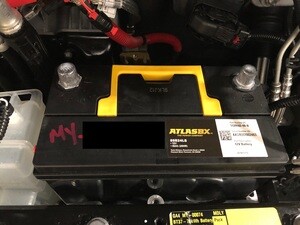
-
Remove 12V battery from vehicle
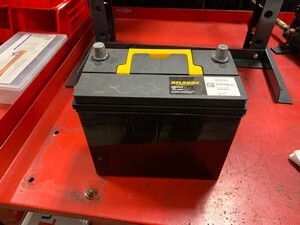
-
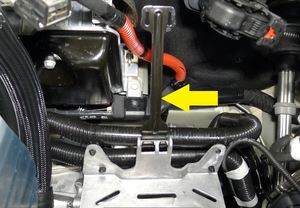
Remove rear battery tie down
strap
注Rotate forward to disengage
-
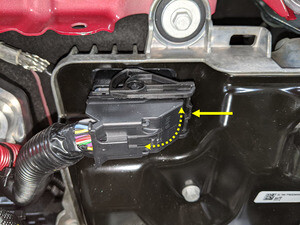
Disconnect thermal sub-harness from
front controller
注1x connector, Depress locking tab and rotate to release
-
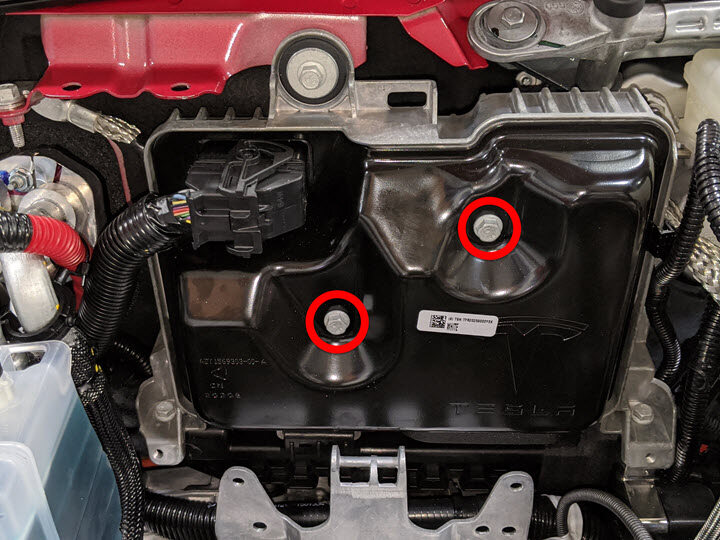
Remove bolts securing front controller
shield assembly and remove from vehicle
注2x bolts, 10mm, 8.5 Nm


安装
-
Install front controller shield to the
front controller
注2x bolts, 10mm, 8.5 Nm
-
Connect thermal sub-harness to front
controller
注1x connector, Rotate fully to secure locking tab
-
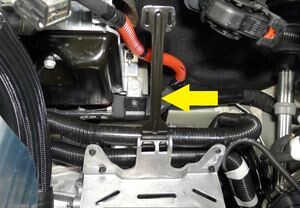
Install rear battery tie down
strap
注Insert assembly into bracket and rotate to 90 degrees
-
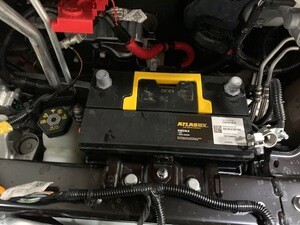
Install 12V battery into vehicle
-
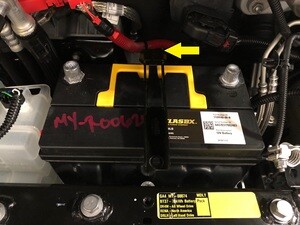
Position battery tie down strap onto
battery
注Hook upper tie down strap into rear tie down hook strap and position for installation
-
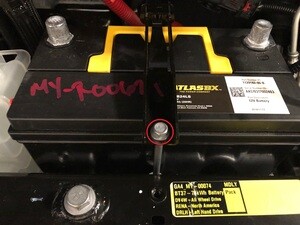
Install bolt securing upper tie down
strap to AC compressor bracket
注1x bolt, 10mm, 5 Nm
-
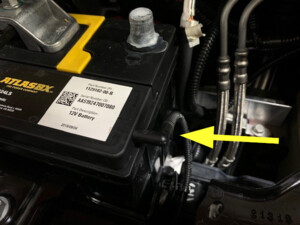
Install vent tube hose in 12V
battery
-
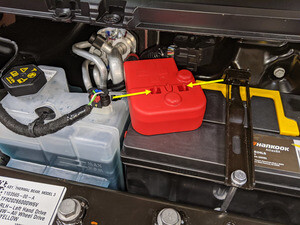
Install positive terminal and terminal
cover
注1x nut, 10mm, 6 Nm, 2x clips
-
Connect first responder loop
注1x connector, Engage locking tab, Connect FRL before connecting 12V to avoid damage to car computer
-
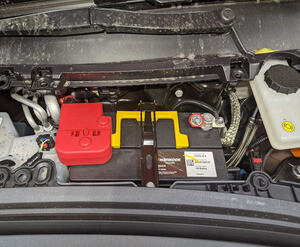
Connect 12V negative terminal
注1x nut, 10mm, 6 Nm
-
Install rear apron
注12x clips
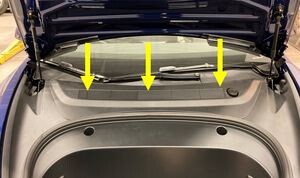
-
Close hood

-
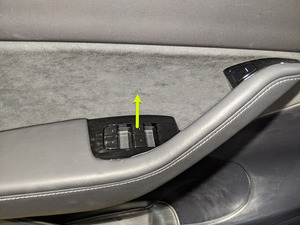
Raise LH front window
-
Close LH front door