04/06/2024 21:10:54

主缸和储液罐总成(拆卸和更换)

校正代码 33201012 1.32 注意:除非本程序中另有明确规定,否则上述校正代码和 FRT 反映的是执行本程序(包括关联程序)所需的所有工作。除非明确要求,否则请勿堆叠校正代码。注意:请参阅平均维修工时,深入了解 FRT 及其创建方式。要提供有关 FRT 值的反馈,请发送电子邮件至LaborTimeFeedback@tesla.com。注意:请参阅人员保护,确保在执行以下程序时穿戴适当的个人防护装备 (PPE)。

  • 2023 年 12 月 7 日:更新了制动器刚度例行程序。
Warning IconA warning icon, calling your attention to a possibly risky situation
警告
尽管此程序已经过验证,但仍是一个草案。可能没有警告和注意事项。请遵守安全要求,处理或靠近高压系统和部件时,请谨慎操作。请将校正修理内容及反馈发送至ServiceDevelopment@teslamotors.com。

拆卸

  1. 打开左前车门
  2. 降下左前车窗
  3. 举升并支撑车辆
    Informational PurposesAn informational icon, calling your attention
    注
    确保车辆在升离地面前未处于充电状态,将空气悬架设置为“Jack 模式”(如有配备)
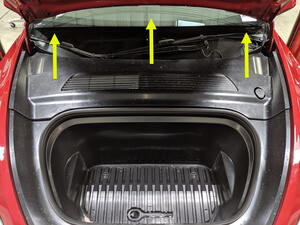
  4. 打开前备箱盖
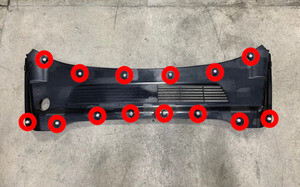
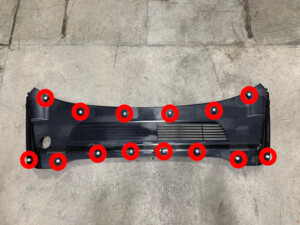
  5. 拆卸后挡板
    Informational PurposesAn informational icon, calling your attention
    注
    14 个卡子
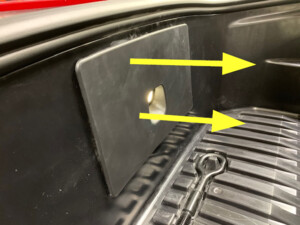
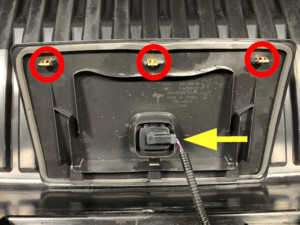
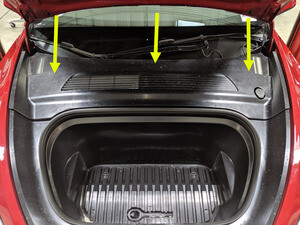
  6. 拆卸检修盖板
    Informational PurposesAn informational icon, calling your attention
    注
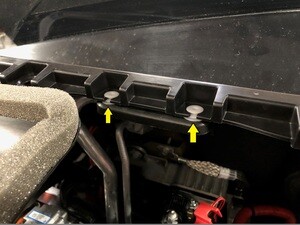
    3 个卡子,1 个连接器
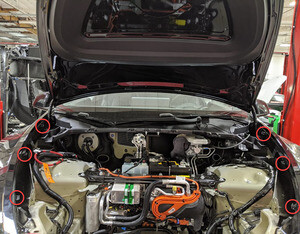
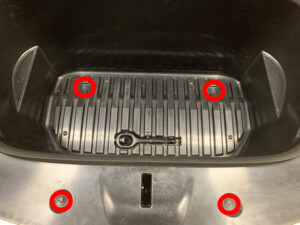
  7. 拆卸用于固定前备箱总成的紧固件
    Informational PurposesAn informational icon, calling your attention
    注
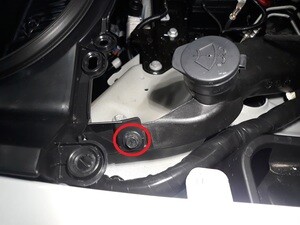
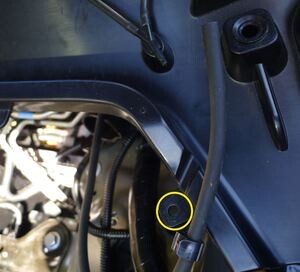
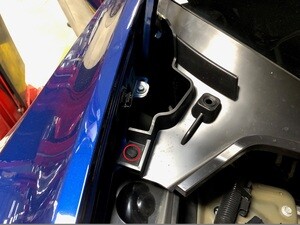
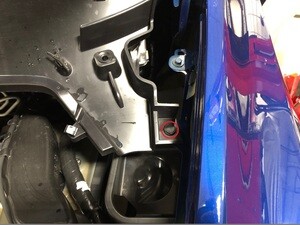
    5 个螺栓,10 毫米,5 Nm;新款车可能加装了 1 个将前备箱固定到储液罐颈部的推拉式卡子
  8. 将前备箱总成从车辆上拆下
    Informational PurposesAn informational icon, calling your attention
    注
    6 个卡子;更换损坏或丢失的卡子
  9. 拆卸所有四个轮毂。请参阅轮毂总成(拆卸和安装)。
  10. 部分降低车辆,然后将举升机设定至锁止位
    Informational PurposesAn informational icon, calling your attention
    注
    将举升机升离锁止位,然后固定住释放杆,使锁具在车辆降下时保持活动自如;将车辆设置到适宜的作业高度
  11. 在中央显示器上关闭车辆电源
    Informational PurposesAn informational icon, calling your attention
    注
    操作如下:Controls > Safety & Security > Vehicle Power > Power Off
  12. 断开 12V 负极端子和紧急响应回路
    Informational PurposesAn informational icon, calling your attention
    注
    1 个螺母,10 毫米,6 Nm,1 个连接器;确保车辆处于驻车挡,温度控制系统关闭,断开 12V 电池之前车辆未充电;应先断开负极端子再断开紧急响应回路;等待 2 分钟,确保所有电路完全放电
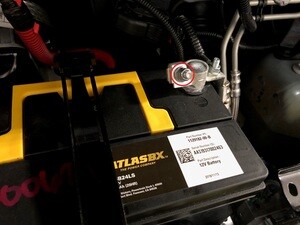
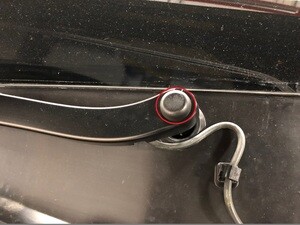
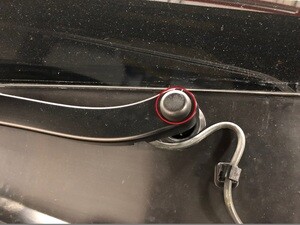
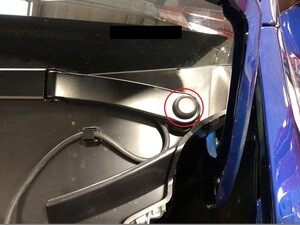
  13. 拆卸左侧雨刮器臂螺母盖
    Informational PurposesAn informational icon, calling your attention
    注
    1 个盖子
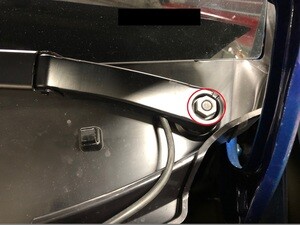
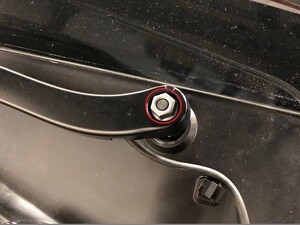
  14. 拆卸将左侧雨刮器臂固定到雨刮器模块的螺母
    Informational PurposesAn informational icon, calling your attention
    注
    1 个螺母,15 毫米,25 Nm
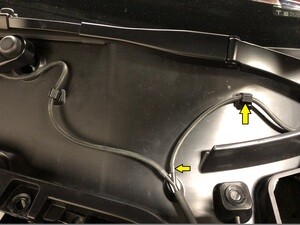
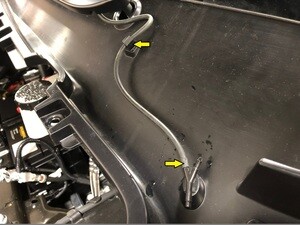
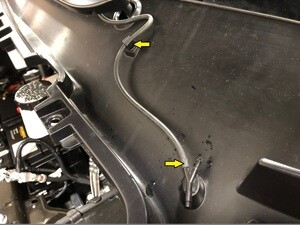
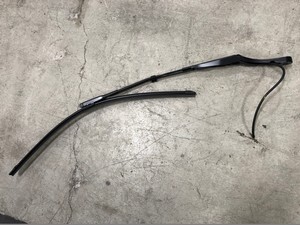
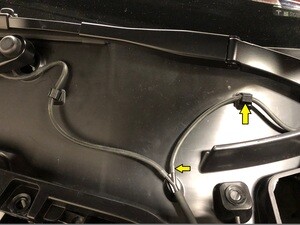
  15. 断开左侧雨刮器臂与 Y 型管接头之间的清洗器软管,然后松开清洗器软管夹
    Informational PurposesAn informational icon, calling your attention
    注
    1 个夹子,1 个软管
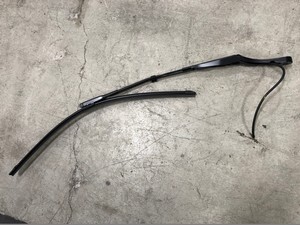
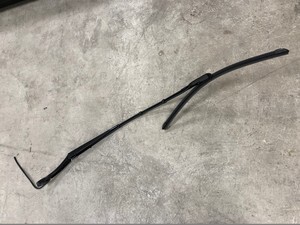
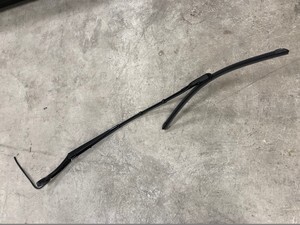
  16. 从车辆上拆下左侧雨刮器臂和软管总成
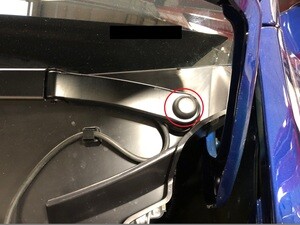
  17. 拆卸右侧雨刮器臂螺母盖
    Informational PurposesAn informational icon, calling your attention
    注
    1 个盖子
  18. 拆卸将右侧雨刮器臂固定到雨刮器模块的螺母
    Informational PurposesAn informational icon, calling your attention
    注
    1 个螺母,15 毫米,25 Nm
  19. 断开右侧雨刮器臂与 Y 型管接头之间的清洗器软管,然后松开清洗器软管夹
    Informational PurposesAn informational icon, calling your attention
    注
    1 个夹子,1 个软管
  20. 从车辆上拆下右侧雨刮器臂和软管总成
  21. 断开清洗器泵与 Y 型管接头之间的清洗器软管,然后松开清洗器软管夹
    Informational PurposesAn informational icon, calling your attention
    注
    1 个夹子,1 个软管
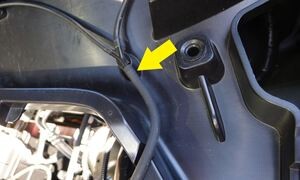
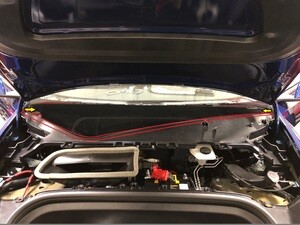
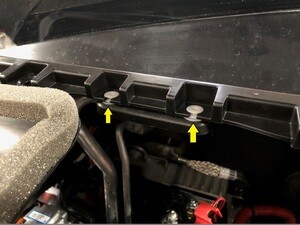
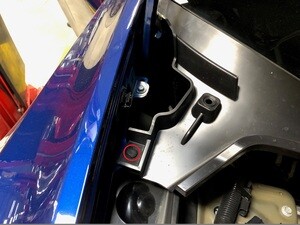
  22. 拆下前围篦固定夹
    Informational PurposesAn informational icon, calling your attention
    注
    2 个推拉式卡子
  23. 松开中间支架上的前围夹子
    Informational PurposesAn informational icon, calling your attention
    注
    2 个固定夹
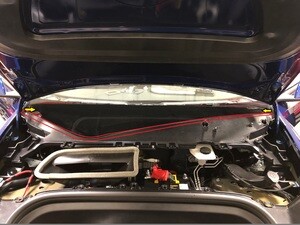
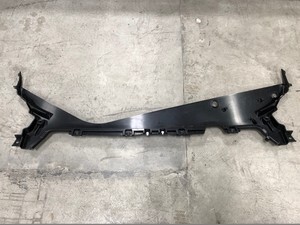
  24. 从车辆上拆下前围篦板
    Informational PurposesAn informational icon, calling your attention
    注
    2 个夹子;将前围拐角从车身上拉开,然后将前围从挡风玻璃上提起
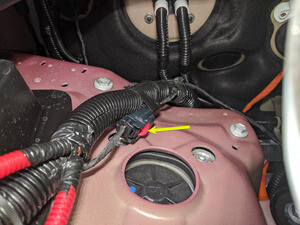
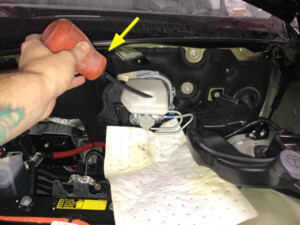
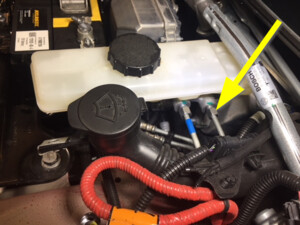
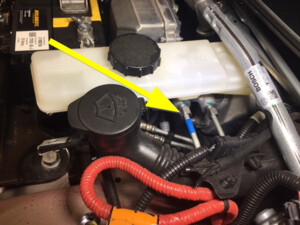
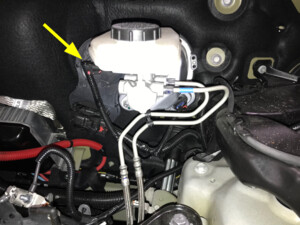
  25. 断开制动液储液罐
    Informational PurposesAn informational icon, calling your attention
    注
    1 个连接器;将锁片滑离连接器以完全松开
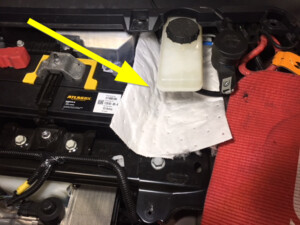
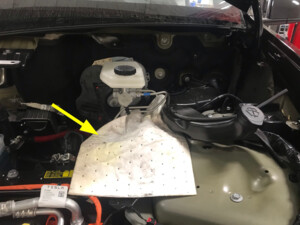
  26. 在制动助力器和储液罐区域下方放置吸收性材料
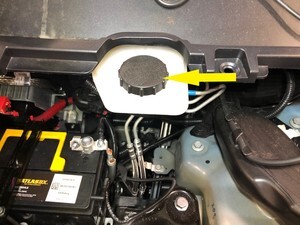
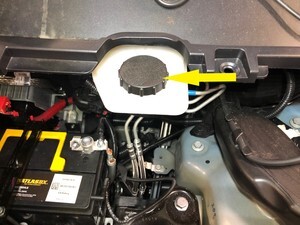
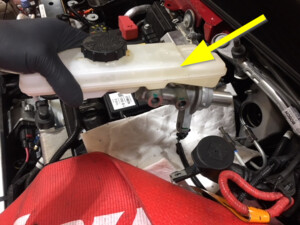
  27. 清洁制动液储液罐周围区域并取下制动液储液罐罐盖
  28. 除去制动液储液罐中制动液
  29. 安装制动液储液罐罐盖
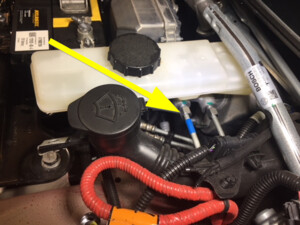
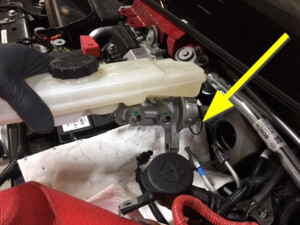
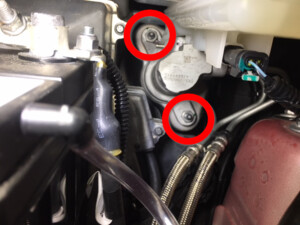
  30. 断开正向制动管和主缸之间的连接
    Informational PurposesAn informational icon, calling your attention
    注
    1 个螺母,12 毫米,16 Nm
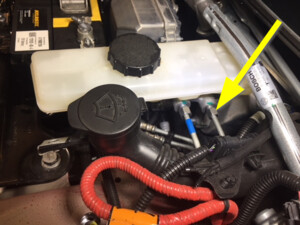
  31. 断开后向制动管和主缸之间的连接
    Informational PurposesAn informational icon, calling your attention
    注
    1 个螺母,12 毫米,16 Nm
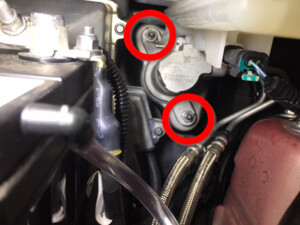
  32. 拆卸将制动主缸固定到制动助力器的螺母
    Informational PurposesAn informational icon, calling your attention
    注
    2 个螺母,13毫米,20 Nm
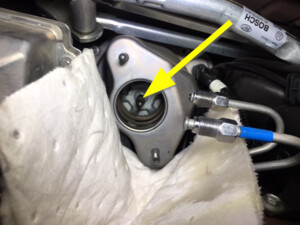
  33. 从车辆上拆下制动主缸
    Informational PurposesAn informational icon, calling your attention
    注
    确保 O 型环与制动总成一起脱落

安装

  1. 将制动主缸安装到车辆上
    Informational PurposesAn informational icon, calling your attention
    注
    安装期间确保 i-Booster 杆与制动主缸对齐
  2. 安装将制动主缸固定到制动助力器的螺母
    Informational PurposesAn informational icon, calling your attention
    注
    2 个螺母,13毫米,20 Nm
  3. 将后向制动管连接到主缸
    Informational PurposesAn informational icon, calling your attention
    注
    1 个螺母,12 毫米,16 Nm
  4. 将正向制动管路连接到主缸
    Informational PurposesAn informational icon, calling your attention
    注
    1 个螺母,12 毫米,16 Nm
  5. 从制动助力器总成和储液罐区域下方取走吸收性材料
  6. 连接制动液储液罐连接器
    Informational PurposesAn informational icon, calling your attention
    注
    1 个连接器;安装后,将锁片朝连接器滑动以将其固定
  7. 安装前围篦板总成
    Informational PurposesAn informational icon, calling your attention
    注
    2 个夹子;将前围拐角压入车身
  8. 安装中间支架上的前围夹子
    Informational PurposesAn informational icon, calling your attention
    注
    2 个固定夹
  9. 安装前围篦固定夹
    Informational PurposesAn informational icon, calling your attention
    注
    2 个夹子
  10. 将清洗器泵软管连接至 Y 型管接头,然后紧固清洗器软管夹
    Informational PurposesAn informational icon, calling your attention
    注
    1 个夹子,1 个软管
  11. 将右侧雨刮器臂和软管总成安装到车辆上
  12. 安装将右侧雨刮器臂固定到雨刮器模块的螺母
    Informational PurposesAn informational icon, calling your attention
    注
    1 个螺母,15 毫米,25 Nm;确保雨刮器顶端对齐挡风玻璃角部的两个指示器之间
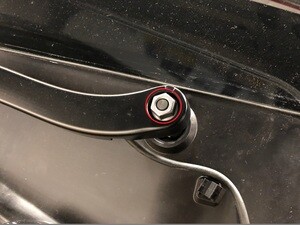
  13. 安装右侧雨刮器臂螺母盖
    Informational PurposesAn informational icon, calling your attention
    注
    1 个盖子
  14. 将清洗器软管连接到右侧雨刮器臂至 Y 型管接头,然后固定清洗器软管夹
    Informational PurposesAn informational icon, calling your attention
    注
    1 个夹子,1 个软管
  15. 将左侧雨刮器臂和软管总成安装到车辆上
  16. 安装将左侧雨刮器臂固定到雨刮器模块的螺母
    Informational PurposesAn informational icon, calling your attention
    注
    1 个螺母,15 毫米,25 Nm;确保雨刮器顶端对齐挡风玻璃的两个指示器之间
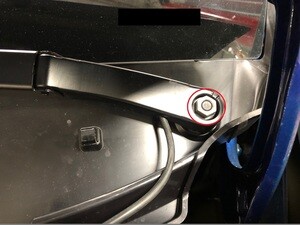
  17. 安装左侧雨刮器臂螺母盖
    Informational PurposesAn informational icon, calling your attention
    注
    1 个盖子
  18. 将左侧雨刮器臂清洗器软管连接到 Y 型管接头,然后紧固清洗器软管夹
    Informational PurposesAn informational icon, calling your attention
    注
    1 个夹子,1 个软管
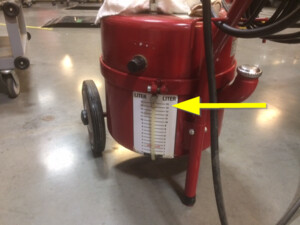
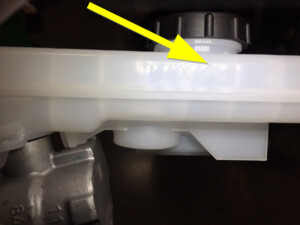
  19. 将制动排放器储液罐加至满位
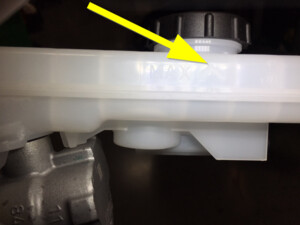
  20. 清洁制动液储液罐周围区域并取下制动液储液罐罐盖
  21. 加满制动液储液罐
    Informational PurposesAn informational icon, calling your attention
    注
    根据需要加满制动液
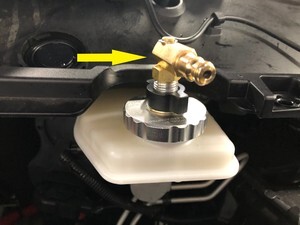
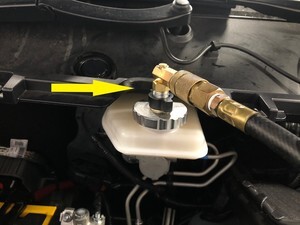
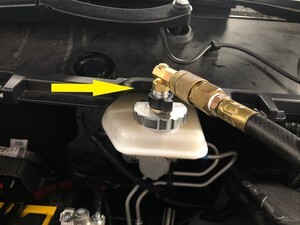
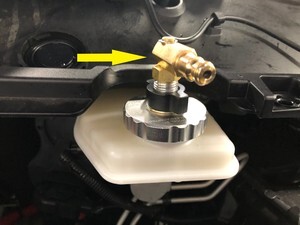
  22. 将压力排放器适配器安装到储液罐上
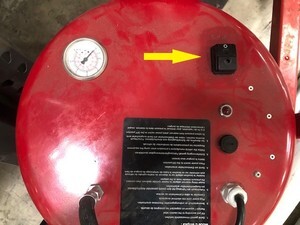
  23. 将制动液排放储液罐压力设置为 30 psi
    Informational PurposesAn informational icon, calling your attention
    注
    将电源连接到排放器并打开电源,将压力设置为 30 psi,将制动液排放储液罐固定到制动液排放适配器
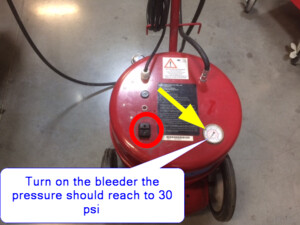
  24. 使用 Toolbox 3.0 与车辆相连
  25. 选择 “Actions/Autodiag”,然后搜索 “bleed”
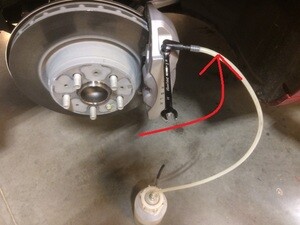
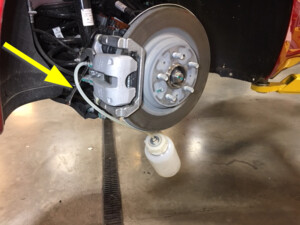
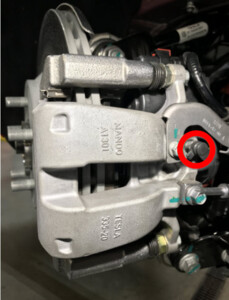
  26. 启动 ESP 前,拆下排放阀盖,将集液罐安装到左前制动钳外侧排放阀上
    Informational PurposesAn informational icon, calling your attention
    注
    2 个盖子
  27. 打开左前制动钳外侧排放阀,然后点击PROC_ESP_FRONT-L-REAR-R-BRAKE-BLEEDvia Toolbox: (link)via Service Mode:
    • Chassis ➜ Brakes ➜ Brake Bleed FL-RR
    • Chassis ➜ Brakes ➜ Brake Bleed FL-RR
    旁边的 “Play” 按钮,选择 “Run” 以启动 ESP,待泵停止运行后关闭排放阀,之后对内侧排放阀重复此过程,最后再对外侧排放阀再次重复此过程
    Informational PurposesAn informational icon, calling your attention
    注
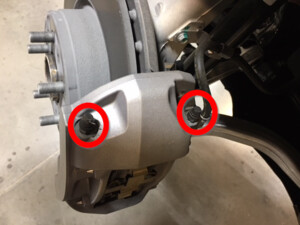
    2 个排放阀,11 毫米,18.5 Nm (+/- 2 Nm) 基础制动钳和增强版制动钳
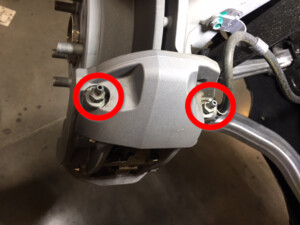
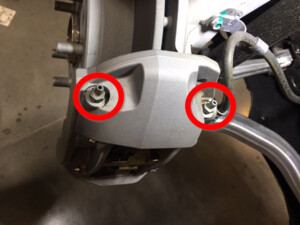
  28. 重复上述步骤,直至左前制动钳排放阀排出的制动液清澈且无气泡
    Informational PurposesAn informational icon, calling your attention
    注
    2 个排放阀,11 毫米,18.5 Nm (+/- 2 Nm) 基础制动钳和增强版制动钳
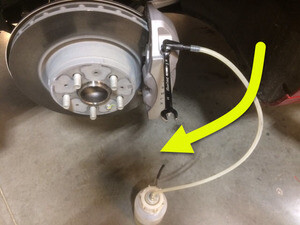
  29. 拆卸集液罐;紧固左前制动钳排放阀,然后安装盖子
    Informational PurposesAn informational icon, calling your attention
    注
    2 个盖子,2 个排放阀,11 毫米,18.5 Nm (+/- 2 Nm) 基础制动钳和增强版制动钳
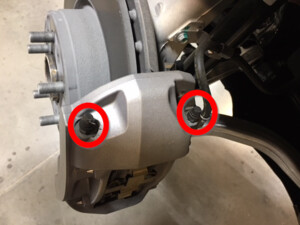
  30. 启动 ESP 前,拆下排放阀盖,将集液罐安装到右前制动钳外侧排放阀上
    Informational PurposesAn informational icon, calling your attention
    注
    2 个盖子
  31. 打开右前制动钳外侧排放阀,然后点击PROC_ESP_FRONT-R-REAR-L-BRAKE-BLEEDvia Toolbox: (link)via Service Mode:
    • Chassis ➜ Brakes ➜ Brake Bleed FR-RL
    • Chassis ➜ Brakes ➜ Brake Bleed FR-RL
    旁边的 “Play” 按钮,选择 “Run” 以启动 ESP,待泵停止运行后关闭排放阀,之后对内侧排放阀重复此过程,最后再对外侧排放阀再次重复此过程
    Informational PurposesAn informational icon, calling your attention
    注
    2 个排放阀,11 毫米,18.5 Nm (+/- 2 Nm) 基础制动钳和增强版制动钳
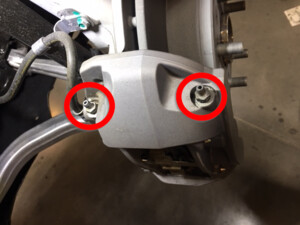
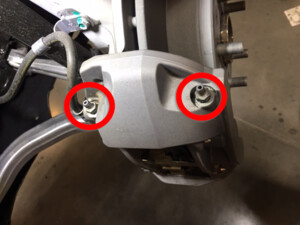
  32. 重复上述步骤,直至右前制动钳排放阀排出的制动液清澈且无气泡
    Informational PurposesAn informational icon, calling your attention
    注
    2 个排放阀,11 毫米,18.5 Nm (+/- 2 Nm) 基础制动钳和增强版制动钳
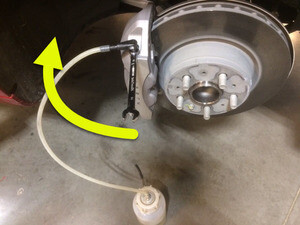
  33. 拆卸集液罐;紧固右前制动钳排放阀并安装盖子
    Informational PurposesAn informational icon, calling your attention
    注
    2 个盖子,2 个排放阀,11 毫米,18.5 Nm (+/- 2 Nm) 基础制动钳和增强版制动钳
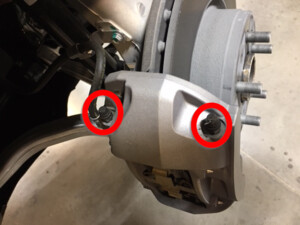
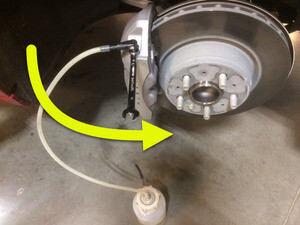
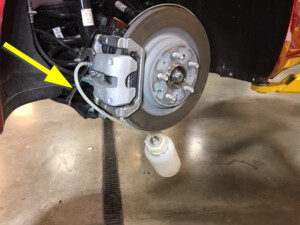
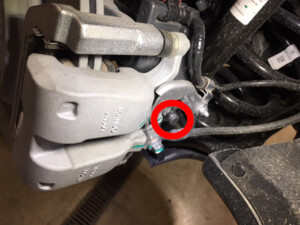
  34. 启动 ESP 前,拆下排放阀盖,将集液罐安装到右后制动钳排放阀上
    Informational PurposesAn informational icon, calling your attention
    注
    1 个盖子
  35. 打开右后制动钳排放阀,然后点击PROC_ESP_FRONT-L-REAR-R-BRAKE-BLEEDvia Toolbox: (link)via Service Mode:
    • Chassis ➜ Brakes ➜ Brake Bleed FL-RR
    • Chassis ➜ Brakes ➜ Brake Bleed FL-RR
    旁边的 “Play” 按钮,选择 “Run” 以启动 ESP,待泵停止运行后关闭排放阀
    Informational PurposesAn informational icon, calling your attention
    注
    1 个排放阀,11 毫米,10 Nm (+/- 3 Nm) 基础制动钳,14 Nm (+/- 2 Nm) 增强版制动钳
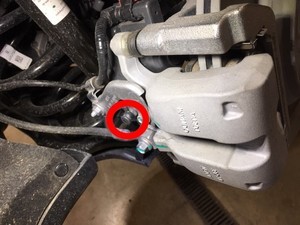
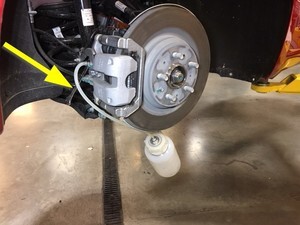
  36. 重复上述步骤,直至右后制动钳排放阀排出的制动液清澈且无气泡
    Informational PurposesAn informational icon, calling your attention
    注
    1 个排放阀,11 毫米,10 Nm (+/- 3 Nm) 基础制动钳,14 Nm (+/- 2 Nm) 增强版制动钳
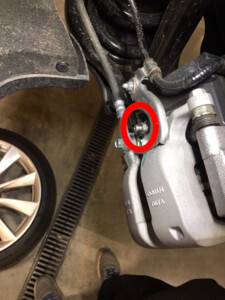
  37. 拆卸集液罐;紧固右后制动钳排放阀并安装盖子
    Informational PurposesAn informational icon, calling your attention
    注
    1 个盖子,1 个排放阀,11 毫米,10 Nm (+/- 3 Nm) 基础制动钳,14 Nm (+/- 2 Nm) 增强版制动钳
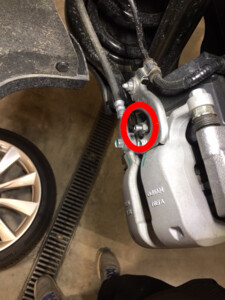
  38. 启动 ESP 前,拆下排放阀盖,将集液罐安装到左后制动钳排放阀上
    Informational PurposesAn informational icon, calling your attention
    注
    1 个盖子
  39. 打开左后制动钳排放阀,然后点击PROC_ESP_FRONT-R-REAR-L-BRAKE-BLEEDvia Toolbox: (link)via Service Mode:
    • Chassis ➜ Brakes ➜ Brake Bleed FR-RL
    • Chassis ➜ Brakes ➜ Brake Bleed FR-RL
    旁边的 “Play” 按钮,选择 “Run” 以启动 ESP,待泵停止运行后关闭排放阀
    Informational PurposesAn informational icon, calling your attention
    注
    1 个排放阀,11 毫米,10 Nm (+/- 3 Nm) 基础制动钳,14 Nm (+/- 2 Nm) 增强版制动钳
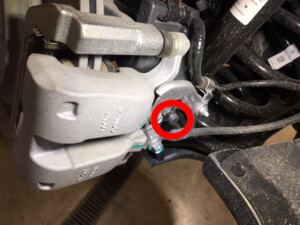
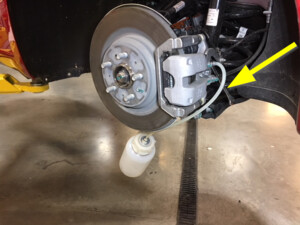
  40. 重复上述步骤,直至清除液体且左后制动钳排放阀内无气泡流出
    Informational PurposesAn informational icon, calling your attention
    注
    1 个排放阀,11 毫米,10 Nm (+/- 3 Nm) 基础制动钳,14 Nm (+/- 2 Nm) 增强版制动钳
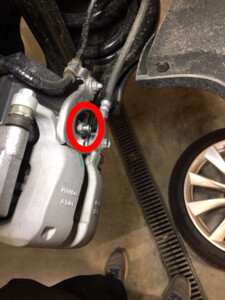
  41. 拆卸集液罐;紧固左后制动钳排放阀并安装盖子
    Informational PurposesAn informational icon, calling your attention
    注
    1 个盖子,1 个排放阀,11 毫米,10 Nm (+/- 3 Nm) 基础制动钳,14 Nm (+/- 2 Nm) 增强版制动钳
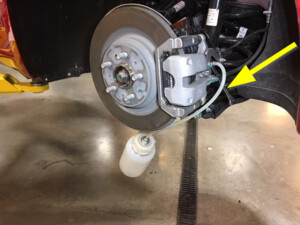
  42. 关闭制动液排放储液罐电源并将制动液排放储液罐从制动液排放适配器上拆下
  43. 从储液罐上拆下压力排放器适配器
  44. 检查液位
    Informational PurposesAn informational icon, calling your attention
    注
    必要时加满
  45. 安装制动液储液罐罐盖
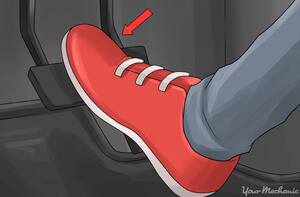
  46. 轻踩制动踏板几次,确保制动踏板触感正常
  47. 使用Toolbox 3:
    1. 选择Actions选项卡,然后搜索 “刚度”。
    2. 选择 ODIN 例行程序TEST_BRAKE_X_STIFFNESS-TEST-SERVICEvia Toolbox: (link)via Service Mode: Chassis ➜ Brakes ➜ Brake Stiffness Test,然后点击例行程序链接。
    3. 如果已更换制动片或制动盘,请在 “Action_Type” 下选择UNBURNISHED。否则请选择BURNISHED。
    4. 点击RUN,然后等待例行程序完成。
      Informational PurposesAn informational icon, calling your attention
      注
      测试期间,请勿踩下制动踏板。
  48. 从以太网端口上拔下高速数据线缆,以断开 Toolbox 3.0 与车辆的连接
  49. 部分升起车辆,然后将举升机降落至锁止位
    Informational PurposesAn informational icon, calling your attention
    注
    将车辆设置到适宜的作业高度;务必在听到两侧的锁发出清晰的锁止声之后再降下,否则车辆可能会发生侧倾
  50. 安装所有轮毂。请参阅轮毂总成(拆卸和安装)。
  51. 安装后挡板
    Informational PurposesAn informational icon, calling your attention
    注
    14 个卡子;固定前备箱后围,防止其在接合前部卡子时弯曲
  52. 关闭前备箱盖
  53. 将车辆驶离举升机
    Informational PurposesAn informational icon, calling your attention
    注
    完全降下举升架臂,如果需要,将其从车辆下部移走;将悬架退出“Jack 模式”(如有配备)
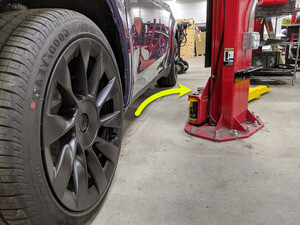
  54. 升起左前车窗
  55. 关闭左前车门
  56. 执行试驾
    Informational PurposesAn informational icon, calling your attention
    注
    根据当前 FRT (00040100) 0.3 小时;如已调整定位,则验证跟踪;如已调节 DAS 组件,则验证操作;如已维修制动器,则执行磨合