03/04/2023 14:12:51

前照灯 - LH(全球)(拆卸和更换)
校正代码 17400302 0.72 注意:除非本程序中另有明确规定,否则上述校正代码和 FRT 反映的是执行本程序(包括关联程序)所需的所有工作。除非明确要求,否则请勿堆叠校正代码。 注意:请参阅平均维修工时,深入了解 FRT 及其创建方式。要提供有关 FRT 值的反馈,请发送电子邮件至LaborTimeFeedback@tesla.com。 注意:执行下述程序时,请参阅人员保护确认已穿戴适当的个人防护装备 (PPE)。

Warning IconA warning icon, calling your attention to a possibly risky situation
警告
尽管此程序已经过验证,但仍是一个草案。可能没有警告和注意事项。请遵守安全要求,处理或靠近高压系统和部件时,请谨慎操作。请将校正修理内容及反馈发送至ServiceDevelopment@teslamotors.com。
Informational PurposesAn informational icon, calling your attention
注
本程序适用于此零件的全球更新版本。此零件的原始版本对应的程序如下: 前照灯 - LH(拆卸和更换).

拆卸

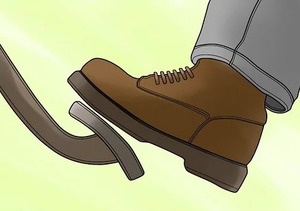
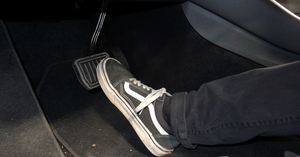
  1. 踩下制动踏板以打开驱动导轨。
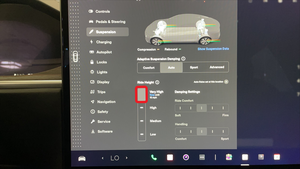
  2. 将空气悬挂车身高度设置为“非常高”。
    Informational PurposesAn informational icon, calling your attention
    注
    在中央显示器上,点击 Controls > Suspension > Very High。
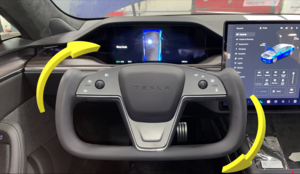
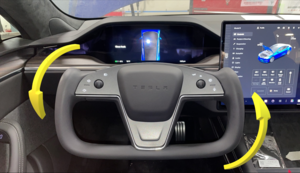
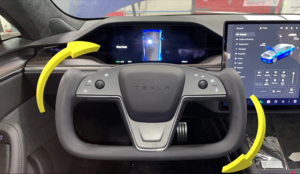
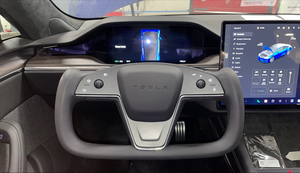
  3. 将方向盘转至最右侧。
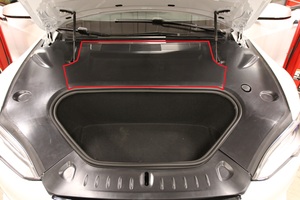
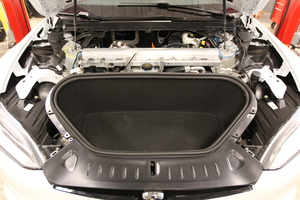
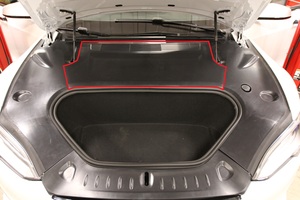
  4. 打开前备箱盖。
    Informational PurposesAn informational icon, calling your attention
    注
    在中央显示器上,点击 Controls > Frunk Open。
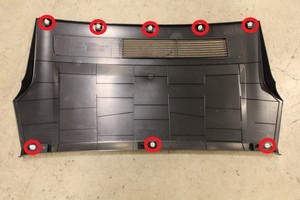
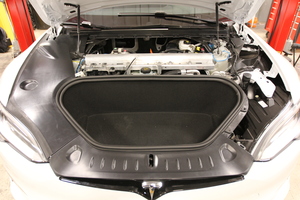
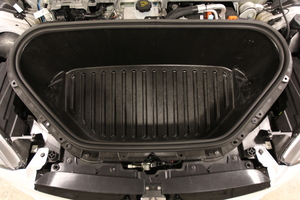
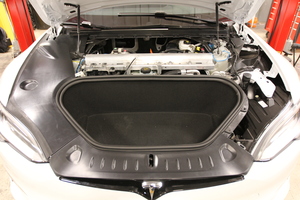
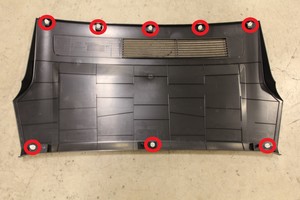
  5. 拆下前备箱后部挡板。
    Informational PurposesAn informational icon, calling your attention
    注
    8 个卡子。
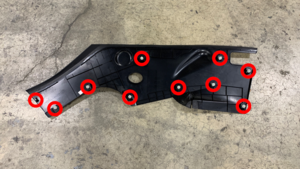
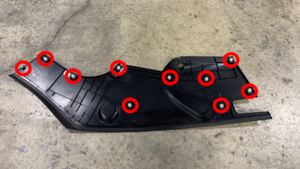
  6. 拆下前备箱左侧挡板。
    Informational PurposesAn informational icon, calling your attention
    注
    10 个卡子。
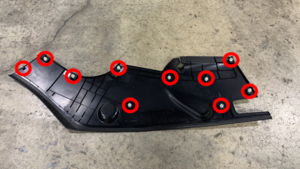
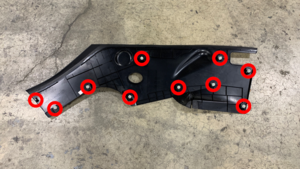
  7. 拆下前备箱右侧挡板。
    Informational PurposesAn informational icon, calling your attention
    注
    10 个卡子。
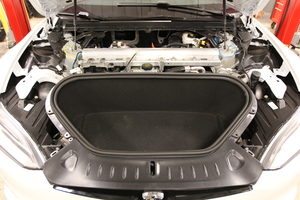
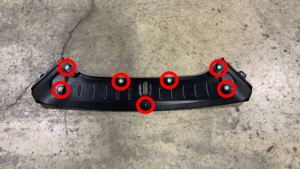
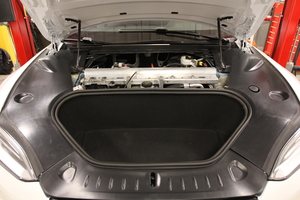
  8. 拆下前备箱前部挡板。
    Informational PurposesAn informational icon, calling your attention
    注
    7 个卡子。
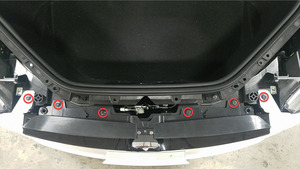
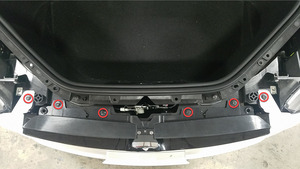
  9. 拆下将饰板支架固定到底座的螺栓。
    Informational PurposesAn informational icon, calling your attention
    注
    6 个螺栓,10 毫米,4 Nm。
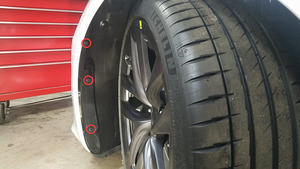
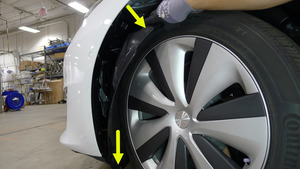
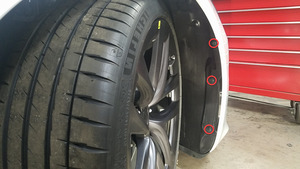
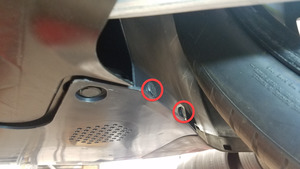
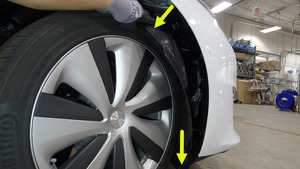
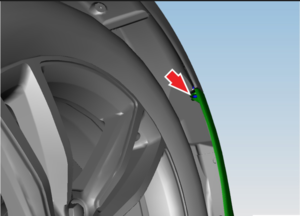
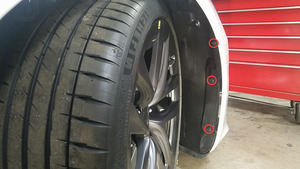
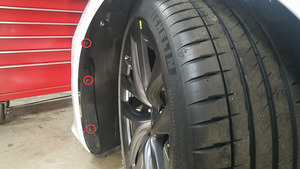
  10. 拆下将左侧前轮拱内衬固定到饰板的推拉式卡子,并将其移至一旁以便操作。
    Informational PurposesAn informational icon, calling your attention
    注
    5 个推拉式卡子;将内衬底部向下移动,然后将内衬顶部压在轮胎上。
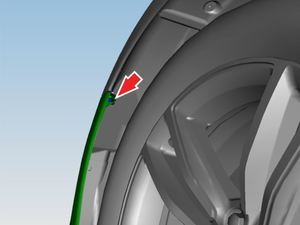
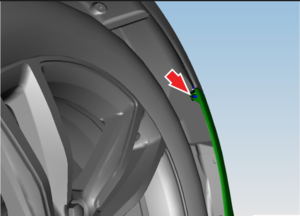
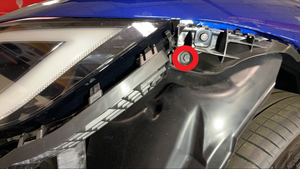
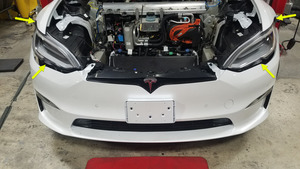
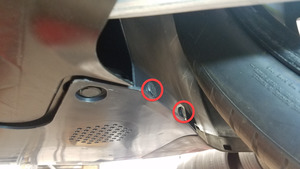
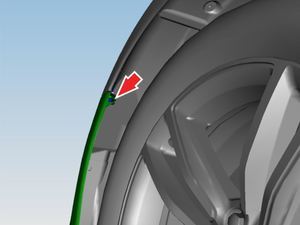
  11. 拆下将前饰板固定到左侧翼子板支架的螺栓。
    Informational PurposesAn informational icon, calling your attention
    注
    1 个螺栓,T25,5 Nm。
  12. 踩下制动踏板以打开驱动导轨。
  13. 将方向盘转至最左侧。
  14. 拆下将右侧前轮拱内衬固定到饰板的推拉式卡子,并将其移至一旁以便操作。
    Informational PurposesAn informational icon, calling your attention
    注
    5 个推拉式卡子;将内衬底部向下移动,然后将内衬顶部压在轮胎上。
  15. 拆下将前饰板固定到右侧翼子板支架的螺栓。
    Informational PurposesAn informational icon, calling your attention
    注
    1 个螺栓,T25,5 Nm。
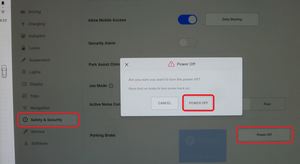
  16. 从中央显示器关闭车辆电源。
    Informational PurposesAn informational icon, calling your attention
    注
    选择 Controls > Safety & Security > Power Off。
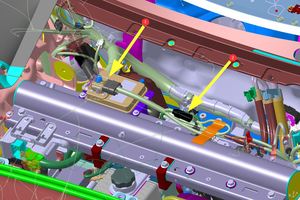
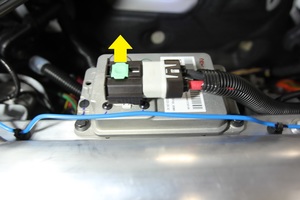
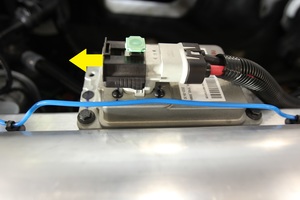
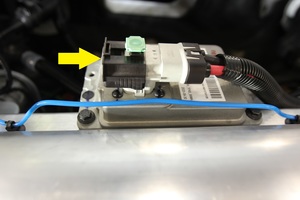
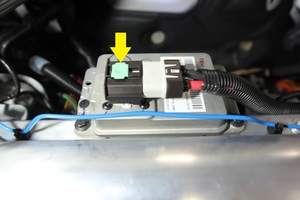
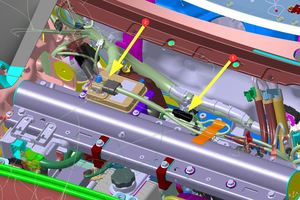
  17. 断开低压电池连接器和紧急响应回路。
    Informational PurposesAn informational icon, calling your attention
    注
    2 个连接器;提起并松开绿色锁片;向外拉动黑色连接器锁以断开连接。
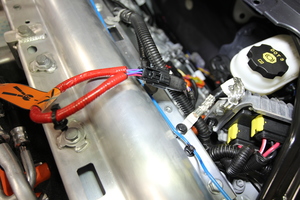
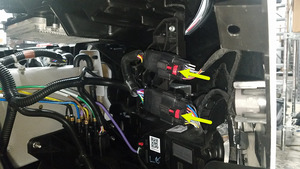
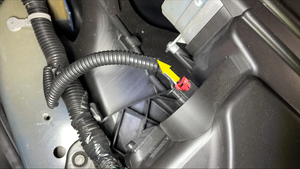
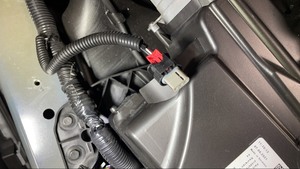
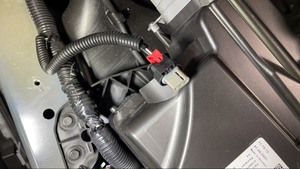
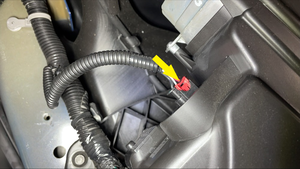
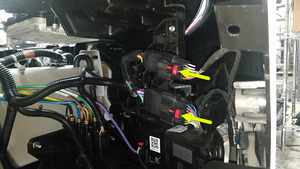
  18. 断开前饰板线束。
    Informational PurposesAn informational icon, calling your attention
    注
    2 个连接器;拉动红色锁片使锁脱离,然后将其断开;位于右侧轮拱内衬后方。
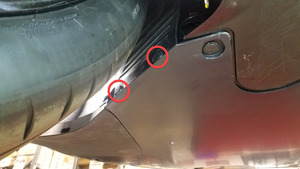
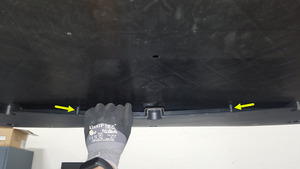
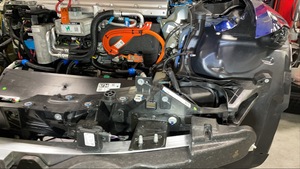
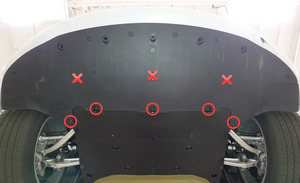
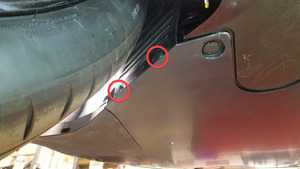
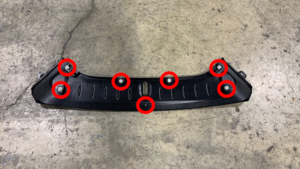
  19. 从前流线型护板上拆下前饰板裙板。
    Informational PurposesAn informational icon, calling your attention
    注
    3 个螺栓,10 毫米,6 Nm,2 个卡子,2 条基线;请勿拆下 3 个中间螺栓。
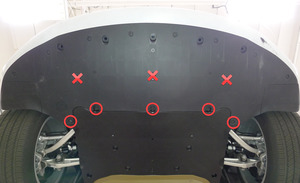
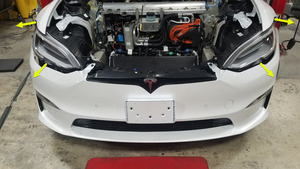
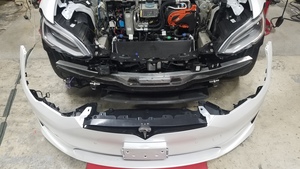
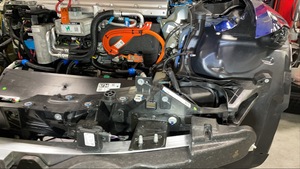
  20. 从翼子板支架上松开饰板并向前拉动,将其从车辆上拆下。
    Informational PurposesAn informational icon, calling your attention
    注
    将饰板放到受保护表面上;建议请助手帮忙。
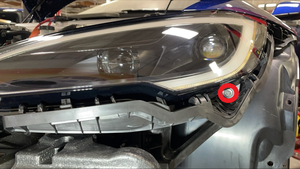
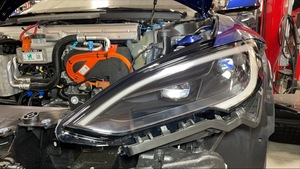
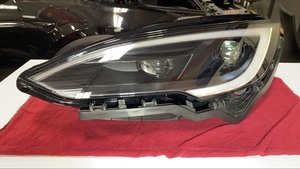
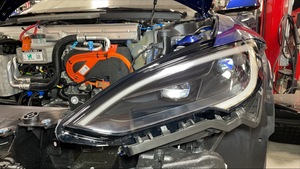
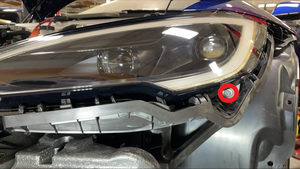
  21. 断开左侧大灯。
    Informational PurposesAn informational icon, calling your attention
    注
    1 个连接器;松开红色锁片并向外拉以断开连接。
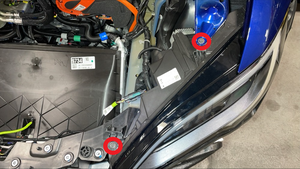
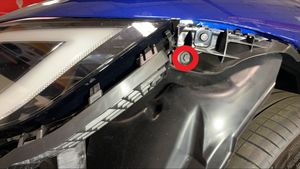
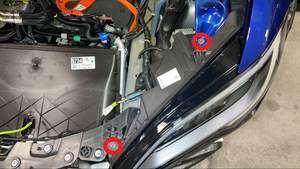
  22. 拆下将左侧大灯固定到车辆的螺栓。
    Informational PurposesAn informational icon, calling your attention
    注
    4 个螺栓,10 毫米,5.9 Nm。
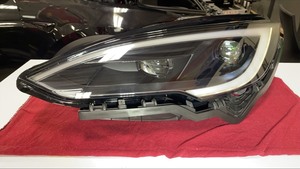
  23. 从车辆上拆下左侧大灯。
    Informational PurposesAn informational icon, calling your attention
    注
    小心操作,避免在拆卸过程中损坏部件。

安装

  1. 将左侧大灯安装到车内。
    Informational PurposesAn informational icon, calling your attention
    注
    小心操作,避免在安装过程中损坏部件。
  2. 安装将左侧大灯固定到车辆的螺栓。
    Informational PurposesAn informational icon, calling your attention
    注
    4 个螺栓,10 毫米,5.9 Nm。
  3. 连接左侧大灯连接器。
    Informational PurposesAn informational icon, calling your attention
    注
    1 个连接器;固定连接器并完全接合红色锁片。
  4. 将前饰板安装至车辆并将饰板固定至翼子板支架。
    Informational PurposesAn informational icon, calling your attention
    注
    建议请助手帮忙;安装时布设饰板线束;进行下一步前,确认前饰板裙板位于前流线型护板下。
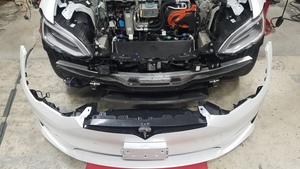
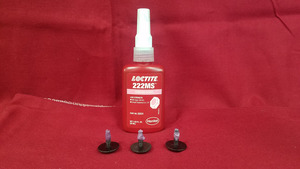
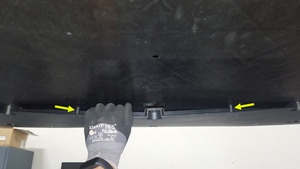
  5. 向紧固件上涂抹 Loctite 222,并将前饰板裙板固定在前流线型护板上。
    Informational PurposesAn informational icon, calling your attention
    注
    3 个螺栓,10 毫米,6 Nm,2 个卡子,2 条基线;将裙板基线插入流线型护板的孔中;请勿拆下3 个中间螺栓。
  6. 连接前饰板线束。
    Informational PurposesAn informational icon, calling your attention
    注
    2 个连接器;卡入锁片;位于右侧轮拱内衬后。
  7. 安装将饰板固定到右侧翼子板支架的螺栓。
    Informational PurposesAn informational icon, calling your attention
    注
    1 个螺栓,T25,5 Nm。
  8. 安装将右侧前轮拱内衬固定到饰板的推拉式卡子。
    Informational PurposesAn informational icon, calling your attention
    注
    5 个推拉式卡子。
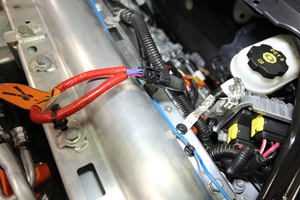
  9. 连接紧急响应回路和低压电池连接器。
    Informational PurposesAn informational icon, calling your attention
    注
    2 个连接器;首先固定紧急响应回路;连接好低压电池并将黑色连接器锁向内推以固定;完全就位后接合绿色锁片。
  10. 踩下制动踏板以打开驱动导轨。
  11. 将方向盘转至最右侧。
  12. 安装将饰板固定到左侧翼子板支架的螺栓。
    Informational PurposesAn informational icon, calling your attention
    注
    1 个螺栓,T25,5 Nm。
  13. 安装将左侧前轮拱内衬固定到饰板的推拉式卡子。
    Informational PurposesAn informational icon, calling your attention
    注
    5 个推拉式卡子。
  14. 安装将饰板支架固定到底座的螺栓。
    Informational PurposesAn informational icon, calling your attention
    注
    6 个螺栓,10 毫米,4 Nm。
  15. 安装前备箱前部挡板。
    Informational PurposesAn informational icon, calling your attention
    注
    7 个卡子。
  16. 踩下制动踏板以打开驱动导轨。
  17. 将方向盘转回中央位置。
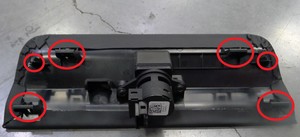
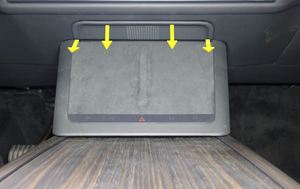
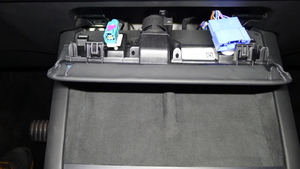
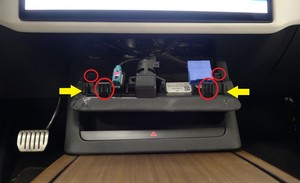
  18. 松开仪表板维修面板。
    Informational PurposesAn informational icon, calling your attention
    注
    2 个锁片,4 条基线;松开顶部锁片,然后向后滑动。
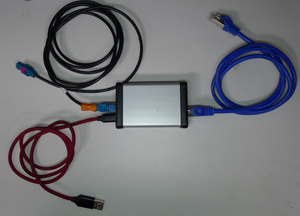
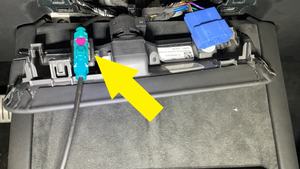
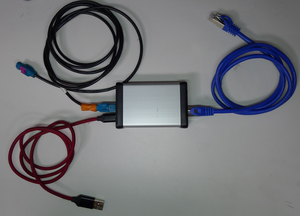
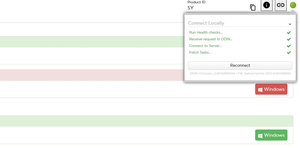
  19. 将装有以太网诊断工具包和 Toolbox 3 的笔记本电脑连接到车辆。
    Informational PurposesAn informational icon, calling your attention
    注
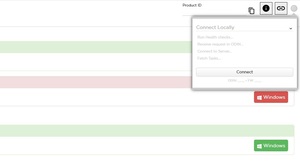
    打开 Toolbox 3 网站,建立与车辆的连接。以太网连接提供通信支持。
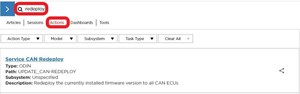
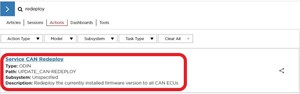
  20. 选择“Actions/Autodiag”,然后搜索“Redeploy”。
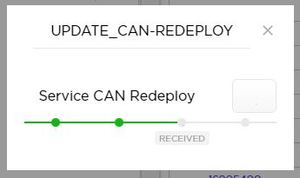
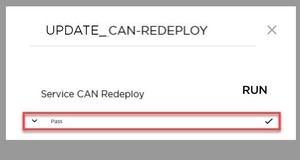
  21. 选择“SERVICE CAN REDEPLOY”,点击“Run”,然后等待程序完成。
    Informational PurposesAn informational icon, calling your attention
    注
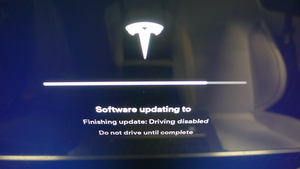
    完成后,点击窗口右上角的“X”关闭;例程将指示成功完成,但更新仍会在后台继续运行;用户界面会显示更新进度。
  22. 断开 Toolbox 3 与车辆的连接,取下笔记本电脑和以太网诊断工具包。
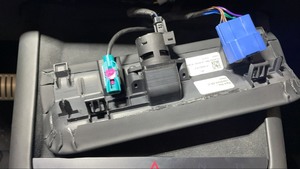
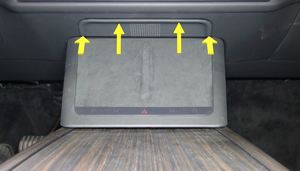
  23. 安装仪表板维修面板。
    Informational PurposesAn informational icon, calling your attention
    注
    2 个锁片,4 条基线;向前滑动接合基线,然后将锁片向上固定到仪表板。
  24. 安装前备箱右侧挡板。
    Informational PurposesAn informational icon, calling your attention
    注
    10 个卡子。
  25. 安装前备箱左侧挡板。
    Informational PurposesAn informational icon, calling your attention
    注
    10 个卡子。
  26. 安装前备箱后部挡板。
    Informational PurposesAn informational icon, calling your attention
    注
    8 个卡子。
  27. 关闭前备箱盖。
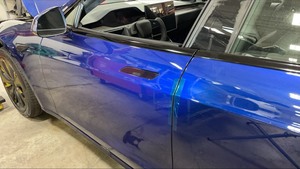
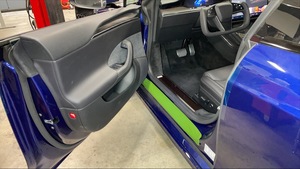
  28. 进入车辆并关闭左侧前车门。
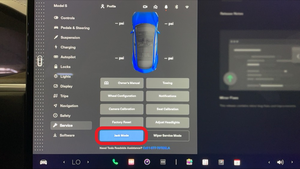
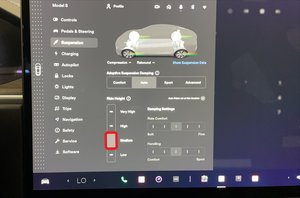
  29. 将空气悬架车身高度设置为“Medium”,并将车辆设置为“千斤顶模式”。
    Informational PurposesAn informational icon, calling your attention
    注
    在中央显示器上,点击 Controls > Suspension > Medium;在中央显示器上,点击 Controls > Service > Jack Mode。
  30. 打开左侧前车门,然后离开车辆。
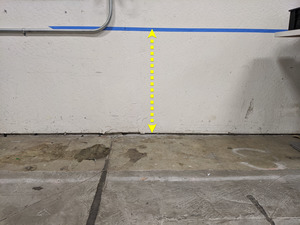
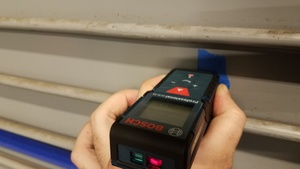
  31. 在距离地面 27.126 英寸(68.9 厘米)的墙壁上贴胶带。
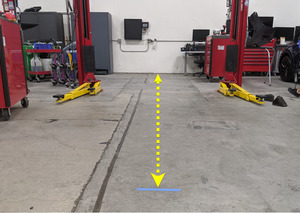
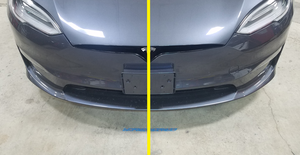
  32. 在距离墙壁 25 英尺(7.6 米)的地面上贴胶带。
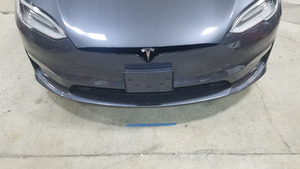
  33. 将车辆停放在垂直于墙壁的水平面上,并将前部饰板与地面上的胶带对齐。
    Informational PurposesAn informational icon, calling your attention
    注
    为获得最佳效果,选择环境光较暗的黑暗工作区域,确保轮胎压力设置符合规格。
  34. 将一束垂直于墙壁的激光投射到车辆中心点,然后在墙壁上标记一条中心线。
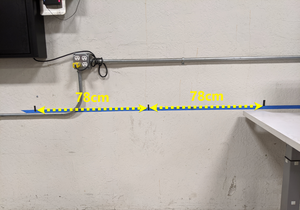
  35. 在中心线两侧距离中心线 78 厘米处各做一个标记。
    Informational PurposesAn informational icon, calling your attention
    注
    这些标记将作为调平过程中的主要参照。
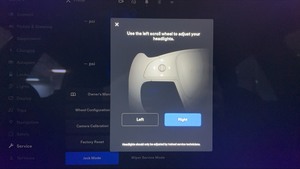
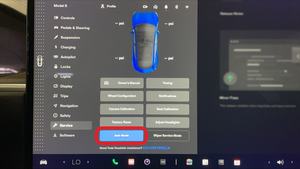
  36. 使用中央显示器选择“调节大灯”。
    Informational PurposesAn informational icon, calling your attention
    注
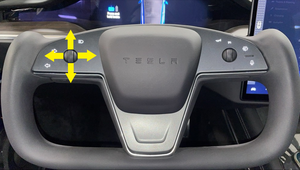
    点击 Controls > Service > Adjust Headlights;使用滚轮调节;请注意,调平需要调整到维护模式。
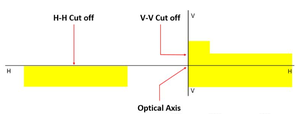
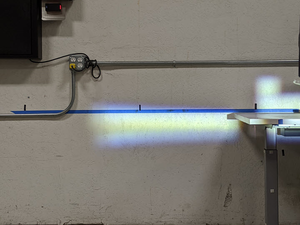
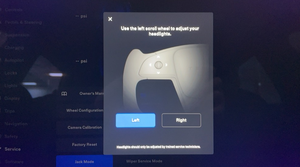
  37. 调节左侧大灯光束。
    Informational PurposesAn informational icon, calling your attention
    注
    调节左侧大灯,使其水平光束的顶部与墙上的胶带标记对齐;请勿坐在车内,因为这会影响大灯的高度。
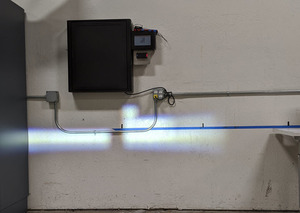
  38. 调节右侧大灯光束。
    Informational PurposesAn informational icon, calling your attention
    注
    调节右侧大灯,使其水平光束的顶部与墙上的胶带标记对齐;请勿坐在车内,因为这会影响大灯的高度。
  39. 使用中央显示器退出大灯调节。
    Informational PurposesAn informational icon, calling your attention
    注
    选择菜单左上角的“X”,退出调节模式。