08/04/2024 19:54:23
空调管路 - 超级歧管至压缩机(拆卸和更换)
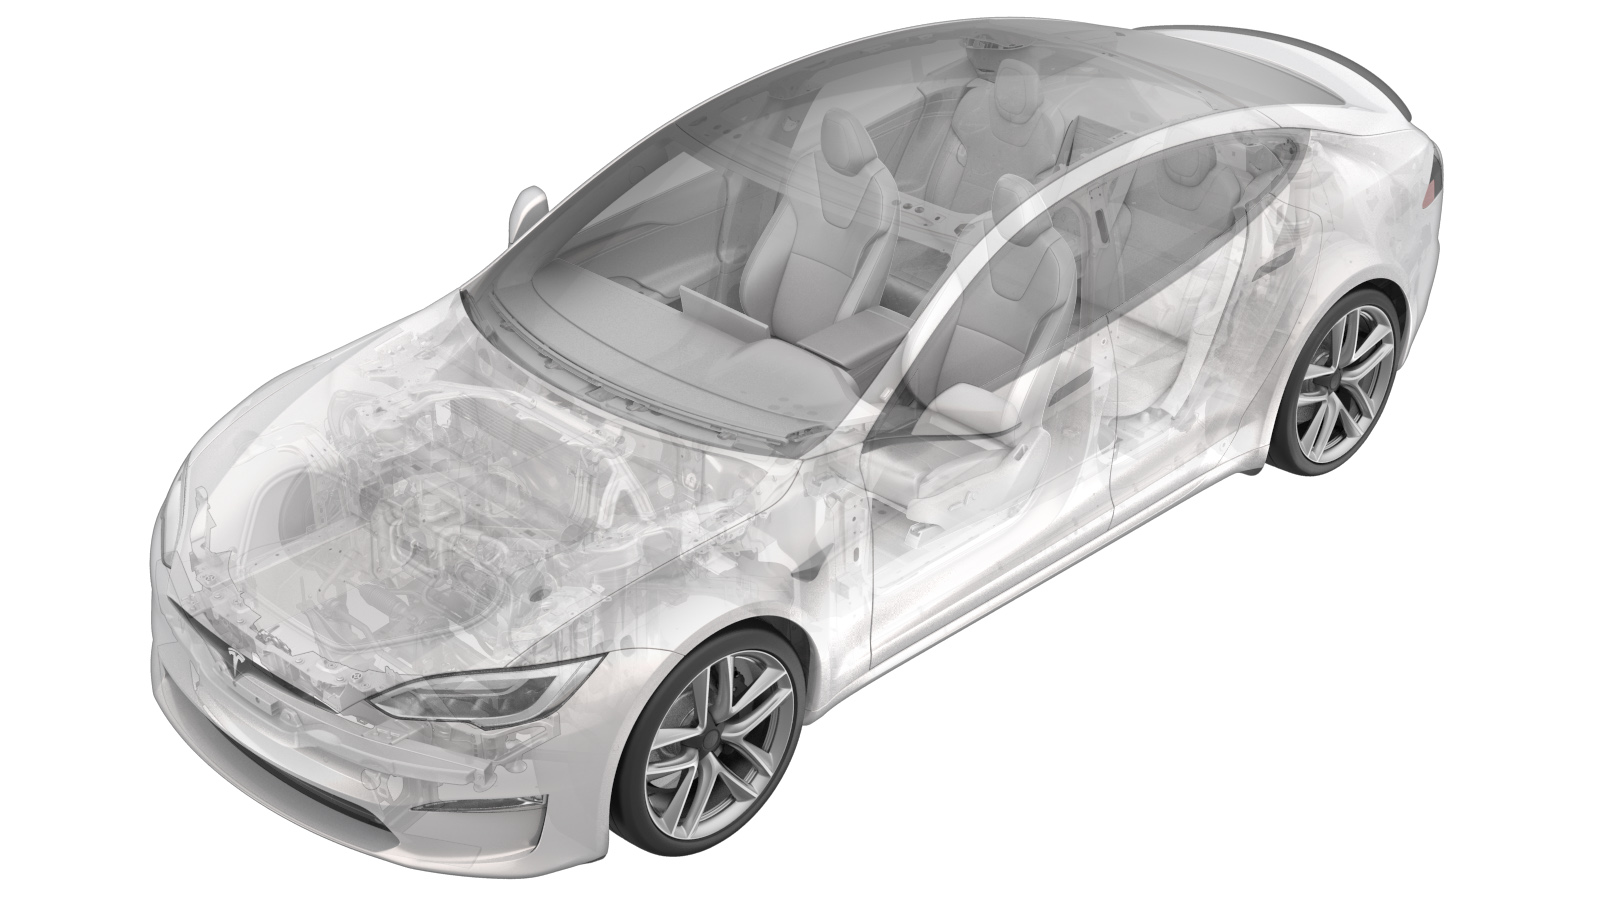 校正代码
18201902 1.56
注意:除非本程序中另有明确规定,否则上述校正代码和 FRT 反映的是执行本程序(包括关联程序)所需的所有工作。除非明确要求,否则请勿堆叠校正代码。
注意:请参阅平均维修工时,深入了解 FRT 及其创建方式。要提供有关 FRT 值的反馈,请发送电子邮件至LaborTimeFeedback@tesla.com。
注意:执行下述程序时,请参阅人员保护确认已穿戴适当的个人防护装备 (PPE)。
校正代码
18201902 1.56
注意:除非本程序中另有明确规定,否则上述校正代码和 FRT 反映的是执行本程序(包括关联程序)所需的所有工作。除非明确要求,否则请勿堆叠校正代码。
注意:请参阅平均维修工时,深入了解 FRT 及其创建方式。要提供有关 FRT 值的反馈,请发送电子邮件至LaborTimeFeedback@tesla.com。
注意:执行下述程序时,请参阅人员保护确认已穿戴适当的个人防护装备 (PPE)。
警告
尽管此程序已经过验证,但仍是一个草案。可能没有警告和注意事项。请遵守安全要求,处理或靠近高压系统和部件时,请谨慎操作。请将校正修理内容及反馈发送至ServiceDevelopment@teslamotors.com。
-
将空调机连接到电源上并打开开关
注仅限维修时间;机器将运行各种后台任务;等待主菜单出现后再继续
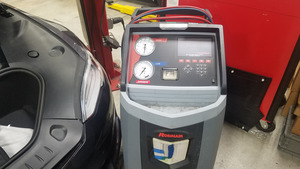
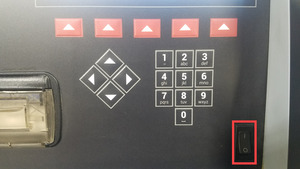
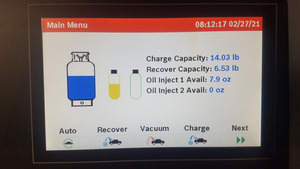
-
出现提示时跳过以下界面
注使用图片中所示的选择
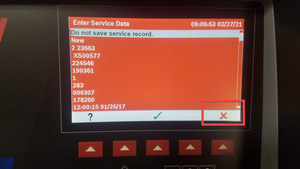
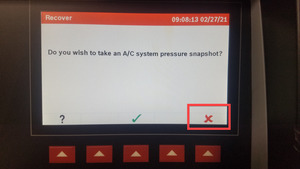
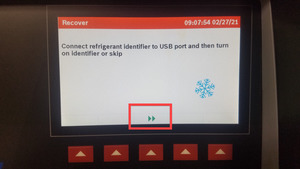
-
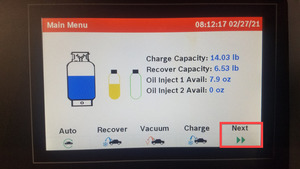
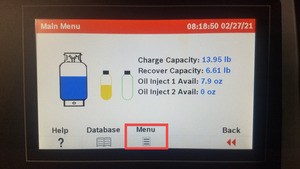
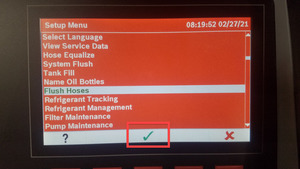
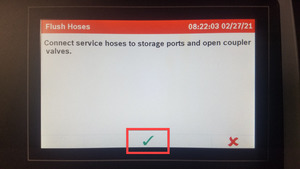
进行软管冲洗
注仅限维修时间;将耦合器连接到机器;顺时针旋转打开耦合器;点击 Main Menu > Menu > Flush hoses > Verify hose connection;该过程完成后机器会发出蜂鸣声
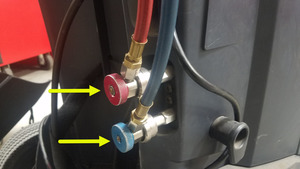
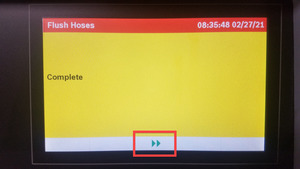
- 打开左前车门
- 降低左侧前车窗
-
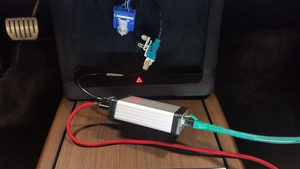
将装有以太网诊断工具包和 Toolbox 3 的笔记本电脑连接到车辆
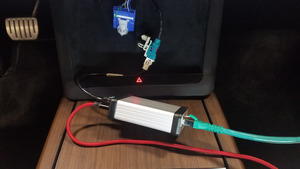
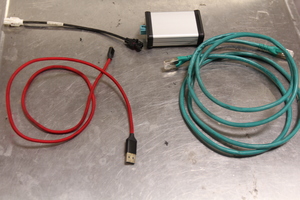
注打开 Toolbox 3 网站 (https://toolbox.teslamotors.com) 并建立与车辆的连接。有关 Toolbox 3 的本地连接问题,请参阅文章 #43695。媒体转换器盒由笔记本电脑 USB 供电,以太网连接将提供通信
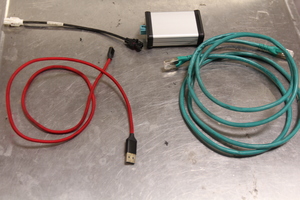
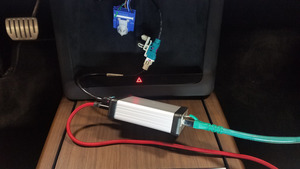
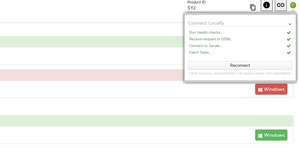
-
选择 “Actions” 选项卡,然后搜索 “Refrigerant”
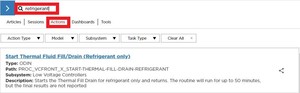
-
选择 “PROC_VCFRONT_X_START-THERMAL-FILL-DRAIN-REFRIGERANTvia Toolbox: (link)”,点击 “Run”,然后等待例行程序完成。
注完成后,选择窗口右上角的“X”关闭,Thermal Fluid Fill/Drain 例程的时间限制为 5 小时,5 小时后,EXV 将关闭,必须重新执行此例程,通过 Garage > Vitals > HP > Refrigerant Loop EXV 确认 EXV 处于打开位置,确认 LCC、CC Left、Evap、CC Right、Chiller 均处于 ~100%。Recirc 处于 ~20% 状态,LCC Solenoid 处于打开状态
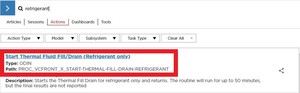
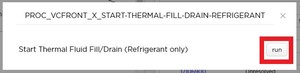
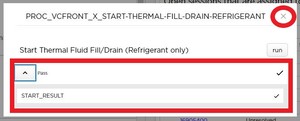
-
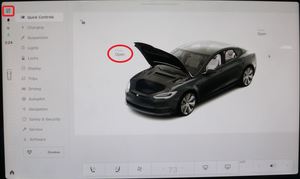
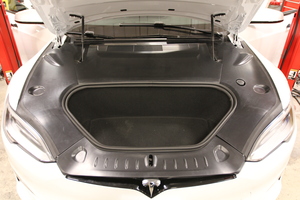
打开前备箱盖
注使用中央显示器触摸屏 > Quick Controls > Frunk Open
-
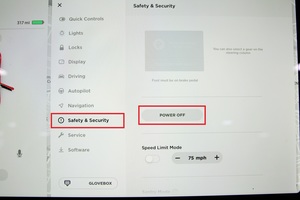
从中央显示器关闭车辆电源
注点击 Controls > Safety & Security > Power Off
-
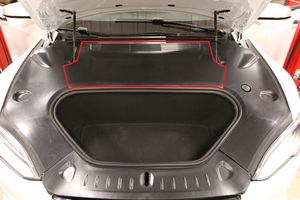
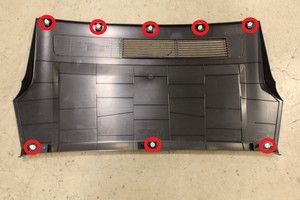
拆下前备箱后部挡板
注8 个卡子
-
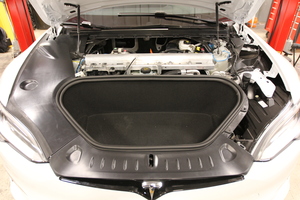
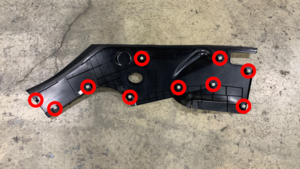
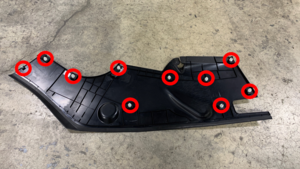
拆下前备箱左侧挡板
注10 个卡子
-
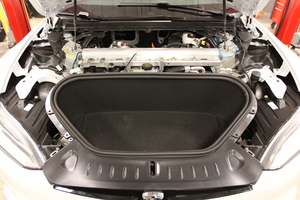
拆下前备箱右侧挡板
注10 个卡子
-
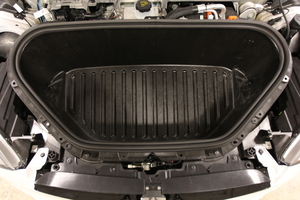
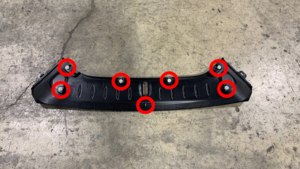
拆下前备箱前部挡板
注7 个卡子
-
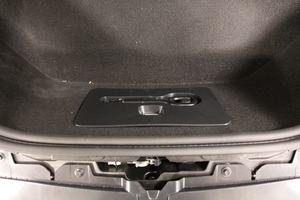
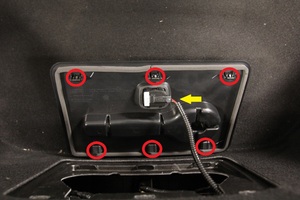
拆下前备箱检修板
注3 个卡子,3 个挂钩,1 个连接器
-
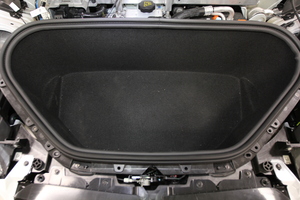
拆卸前备箱地毯
-
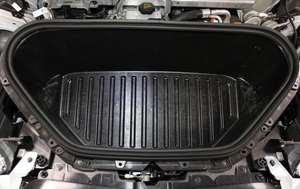
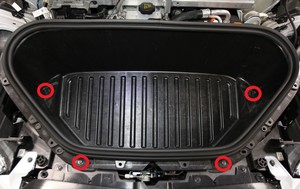
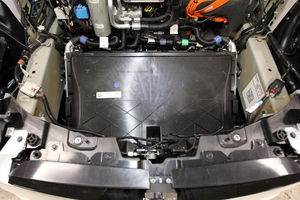
拆下前备箱总成
注4 个螺栓,10 毫米,5 Nm
-
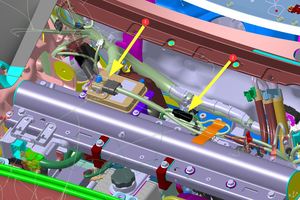
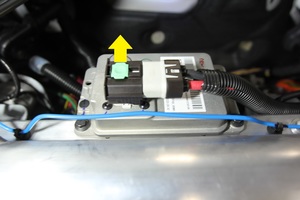
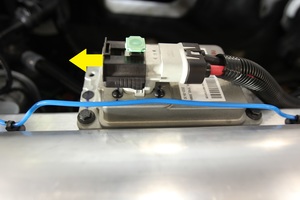
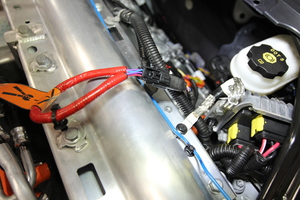
断开低压电池连接器和紧急响应回路 (FRL)
注2 个连接器;提起并松开灰色锁片,向外拉黑色连接器锁以断开连接
-
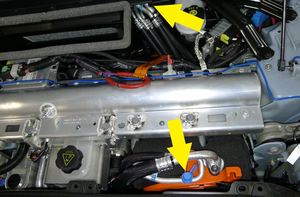
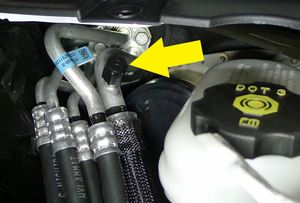
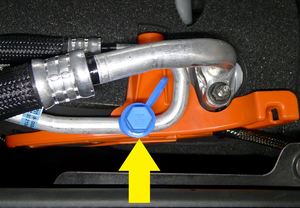
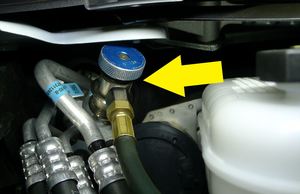
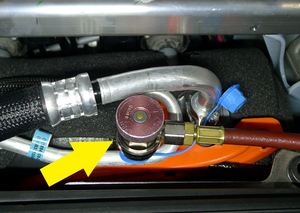
从空调端口下部和上部拆下端口盖
注2 个盖
-
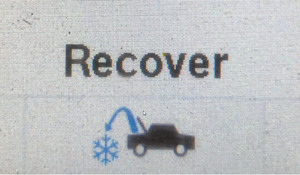
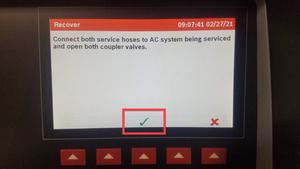
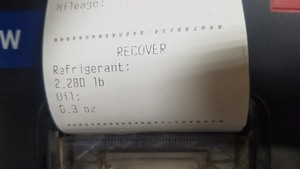
将软管连接到车辆,然后执行空调回收
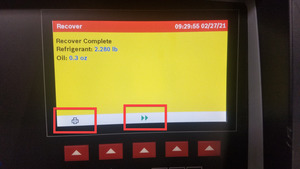
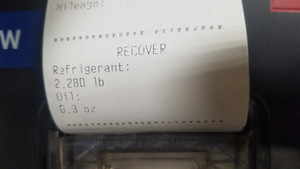
注将耦合器连接到车辆上;顺时针旋转打开耦合器;点击 Main Menu > Recover > Verify hose connection;该过程完成后机器会发出蜂鸣声;车辆可以无人看管;记下或打印制冷剂和机油的回收量;应回收制冷剂 ~2.24 磅(1.02 千克),机油 ~0.3 盎司(8.87 毫升);如果排油量增加超过 1.01 盎司(30 毫升),请参考排油损失图 https://toolbox.teslamotors.com/articles/353700
-
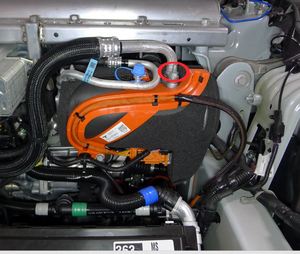
拆下将超级歧管固定在压缩机吸气管路上的螺母,并拆下管路
注1 个螺母,13 mm,22 Nm
-
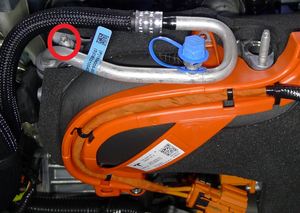
拆下将超级歧管固定在压缩机排气管路上的螺母,并拆下管路
注1 个螺母,13 毫米,22 Nm
-
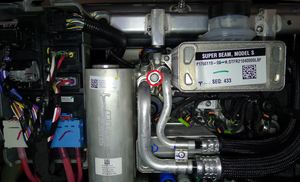
拆卸超级歧管处超级歧管至空调压缩机管路上的螺栓
注1 个螺栓,13 毫米,22 Nm
-
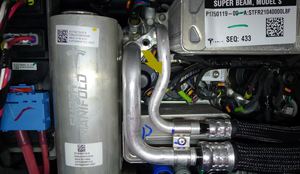
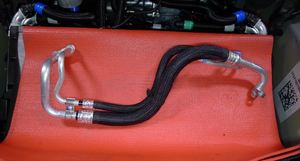
将空调歧管管路从超级歧管上拆下,并将空调歧管管路总成从车辆上拆下
-
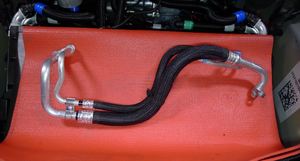
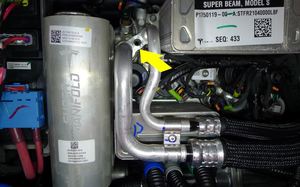
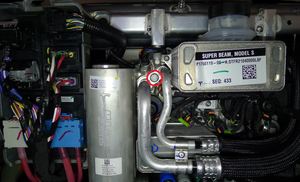
将超级歧管至压缩机空调管路安装到超级歧管上
注1 个螺栓,13 毫米,22 Nm,手动预拧螺栓以防螺纹磨损
-
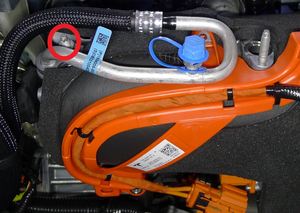
将超级歧管至压缩机排放管路安装到压缩机上
注1 个螺母,13 毫米,22 Nm
-
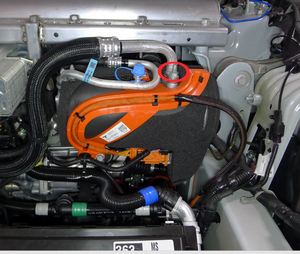
将超级歧管至压缩机吸气管路安装到压缩机上
注1 个螺母,13 毫米,22 Nm
-
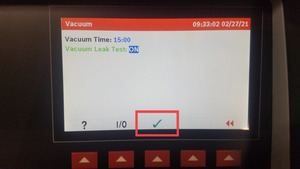
进行空调真空和泄漏测试
注将真空时间设定为15分钟,泄漏测试设定为 ON;该过程完成后机器将发出蜂鸣声;车辆可以无人看管;在继续之前确认通过泄漏测试

-
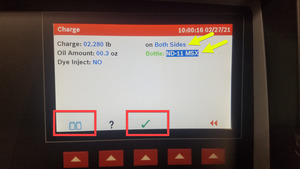
执行空调重新加注。
注输入在空调回收时记录的制冷剂和冷冻油量,设置应与记录相符,选择两边加注,使用瓶子图标选择 ND-11 MSX,该过程完成后机器会发出蜂鸣声,车辆可以无人看管,如果需要,可以使用“染料注入”选项来注入泄漏检测染料
-
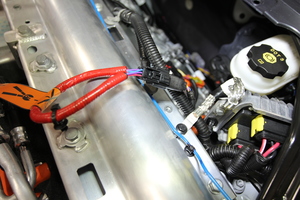
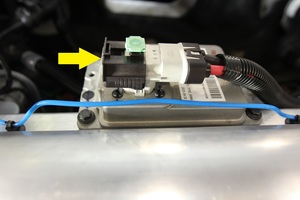
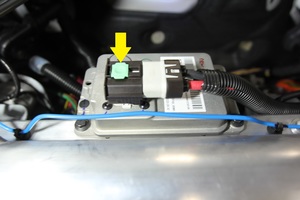
连接紧急响应回路 (FRL) 和低压电池连接器
注2 个连接器;首先固定 紧急响应回路 (FRL);将低压电池连接器放置到位,并将黑色连接器锁向内推以将其固定;完全就位后卡入灰色锁片

-
重新建立车辆与 Toolbox 3 的连接
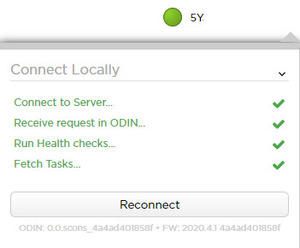
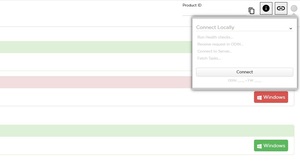
注打开 Toolbox 3 网站 (https://toolbox.teslamotors.com),建立与车辆的连接。选择右上角的连接状态图标,然后选择本地连接(车辆连接后图标将变为绿色)
-
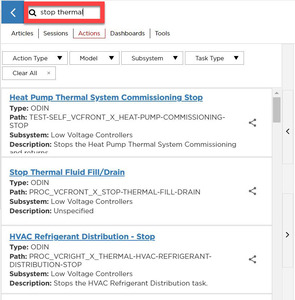
选择 “Actions/Autodiag”,然后搜索 “Stop Thermal”
-
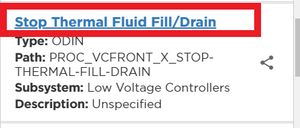
选择 “Stop Thermal Fluid Fill/Drain”,点击 “Run”,然后等待例行程序完成
注完成后,选择窗口右上角的 “X” 关闭
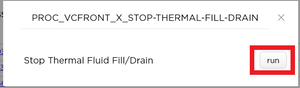
-
选择 “Actions/Autodiag”,然后搜索 “commissioning”
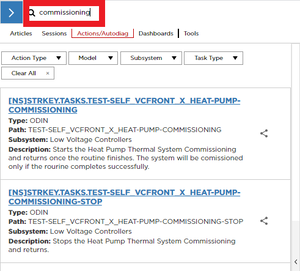
-
选择TEST-SELF_VCFRONT_X_HEAT-PUMP-COMMISSIONINGvia Toolbox: (link)via Service Mode: Thermal ➜ Refrigerant System ➜ Run Heat Pump Commissioningvia Service Mode Plus: Drive Inverter ➜ Front Drive Inverter Replacement ➜ Heatpump commissioning,点击 “Run”,然后等待例行程序完成。
注如果进入 “Thermal Drain/Fill” 模式后,此例行程序未运行,空调压缩机运行将被阻止;完成后,点击右上角的 “X” 关闭窗口
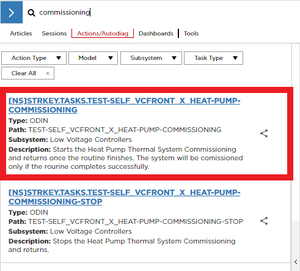
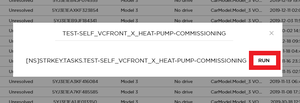
-
断开 Toolbox 3 与车辆的连接,取出笔记本电脑和以太网诊断工具包
-
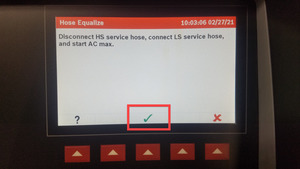
继续执行“软管平衡”步骤,完成空调重新加注,并遵循空调机上显示的指示
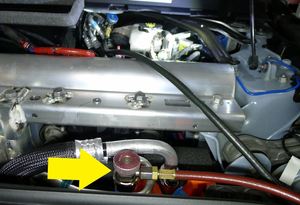
注将高侧耦合器与车辆断开;开启空调;温度设置为“低”;开启“面板”模式;开启“新风”模式;鼓风机转速设置为 10;验证“软管平衡”设置;验证排放压力不超过 26 bar,吸气压力不低于 1.15 bar。
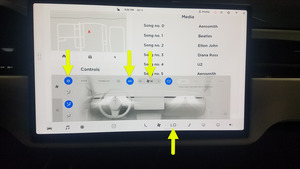
-
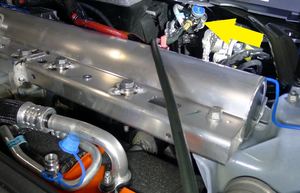
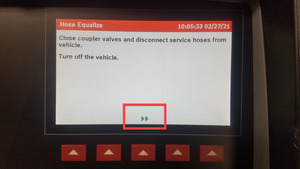
继续执行“软管平衡”步骤,完成空调重新加注,并遵循空调机上显示的指示
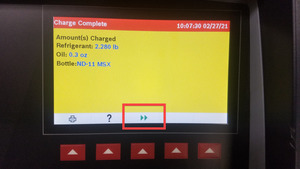
注从车辆上拆下低侧耦合器;关闭车辆;确认软管平衡设置;该过程完成后机器会发出蜂鸣声
-
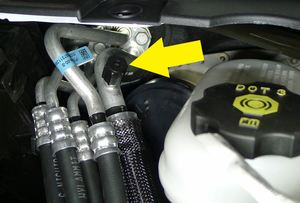
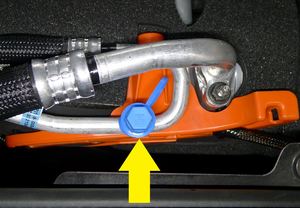
安装空调端口盖
注2 个盖
-
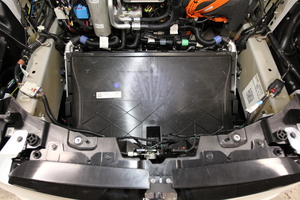
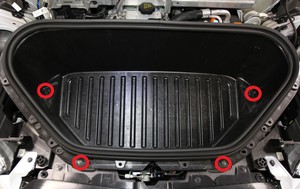
安装前备箱总成
注4 个螺栓,10 毫米,5 Nm
-
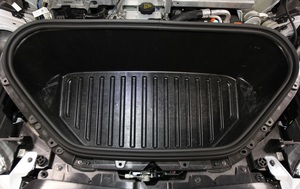
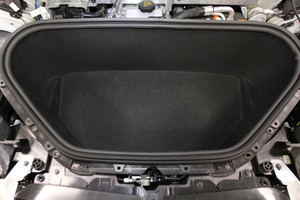
安装前备箱地毯
注确认地毯妥善固定到密封下方
-
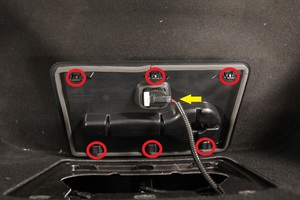
安装前备箱检修板
注3 个卡子,3 个挂钩,1 个连接器

-
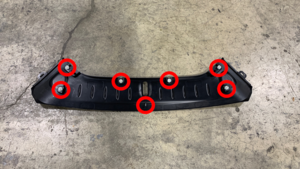
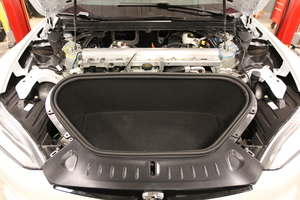
安装前备箱前部挡板
注7 个卡子
-
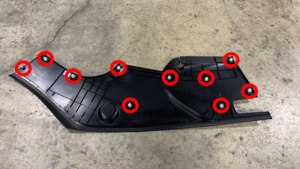
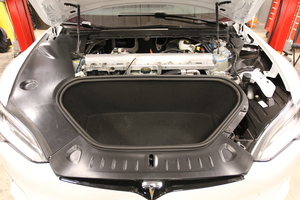
安装前备箱右侧挡板
注10 个卡子
-
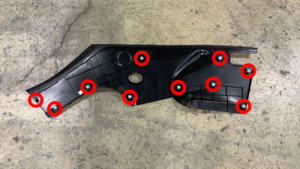
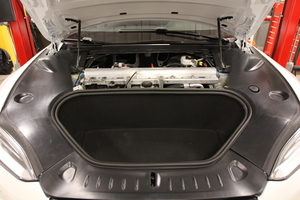
安装前备箱左侧挡板
注10 个卡子
-
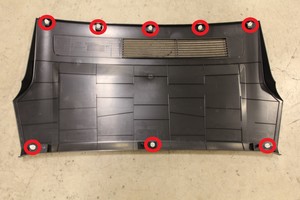
安装前备箱后部挡板
注8 个卡子
-
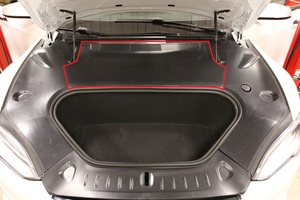
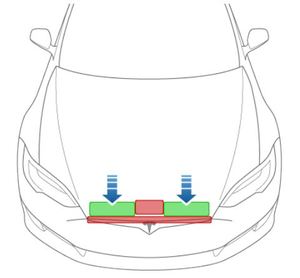
关闭前备箱盖
注用力按压绿色高亮区域(请参阅图片);若前备箱盖其他区域受压,可能会导致损坏
- 升起左前车窗
- 关闭左前车门


